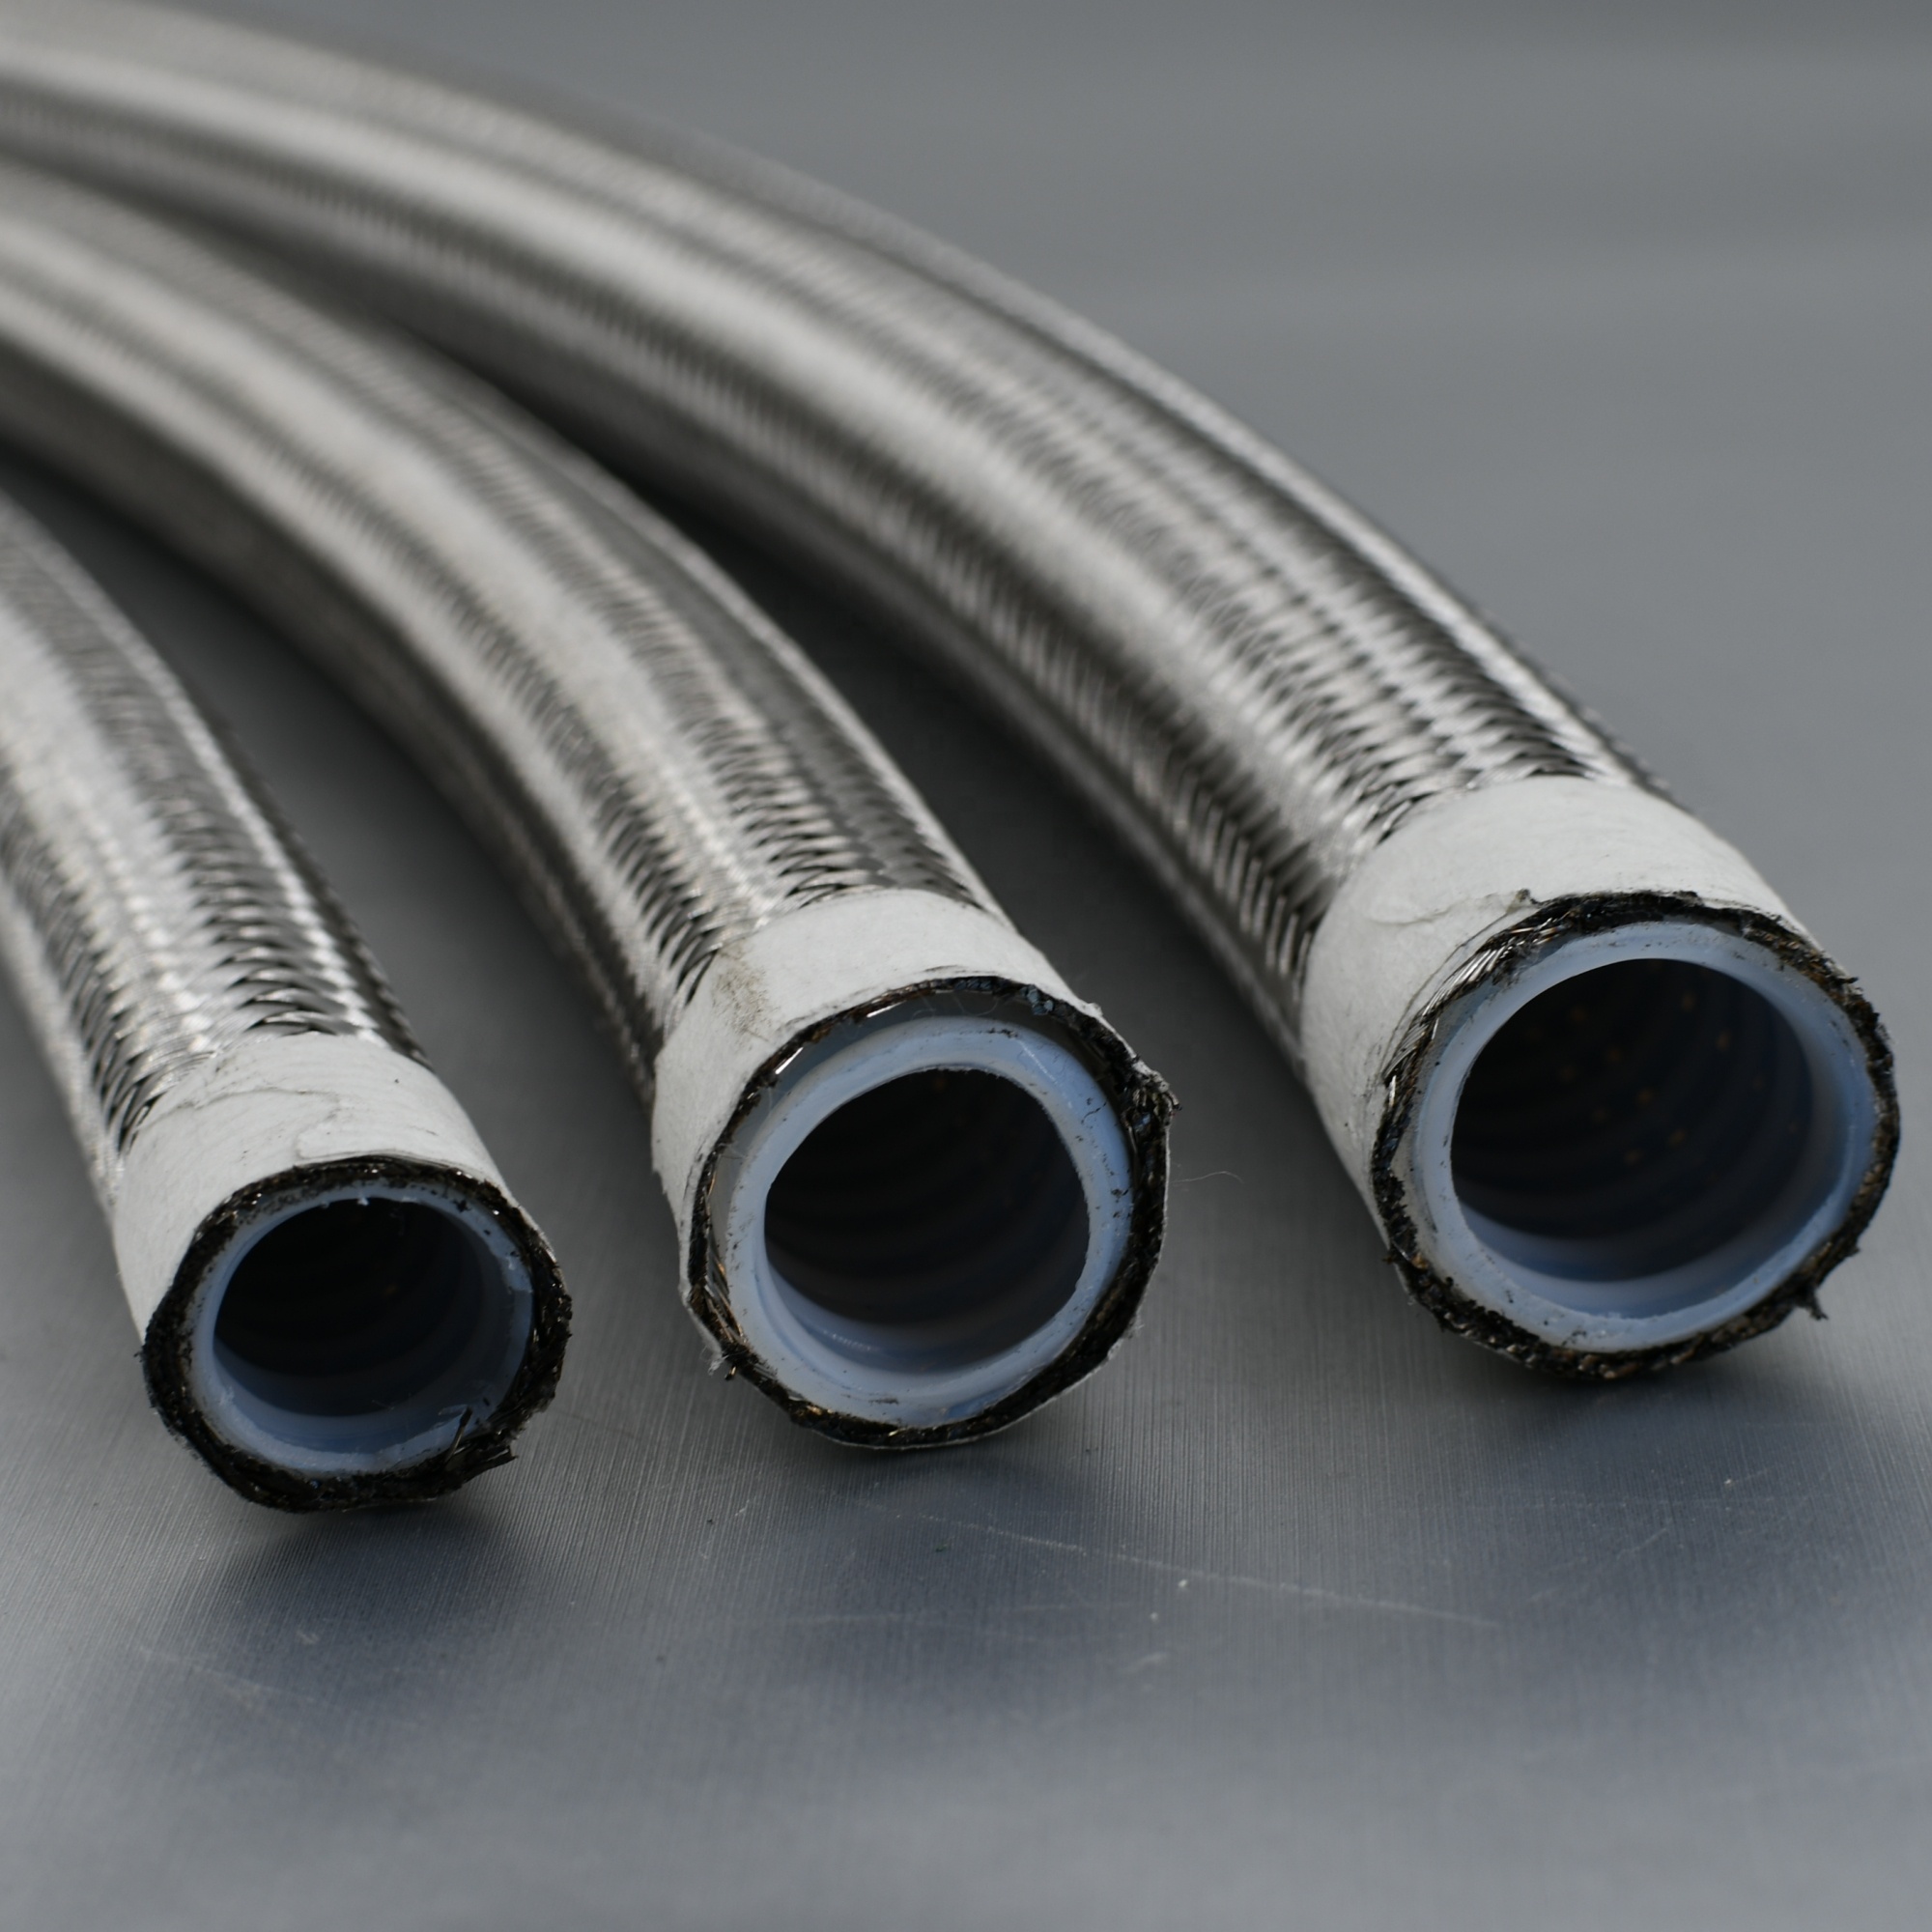
Understanding how to measure AN fitting compatibility is essential for anyone working with hydraulic systems, fuel lines, or precision fluid transfer applications. Incompatible fittings lead to leaks, system failures, and safety hazards. Proper measurement ensures your components work seamlessly together, whether you're assembling race vehicles, industrial equipment, or custom installations.
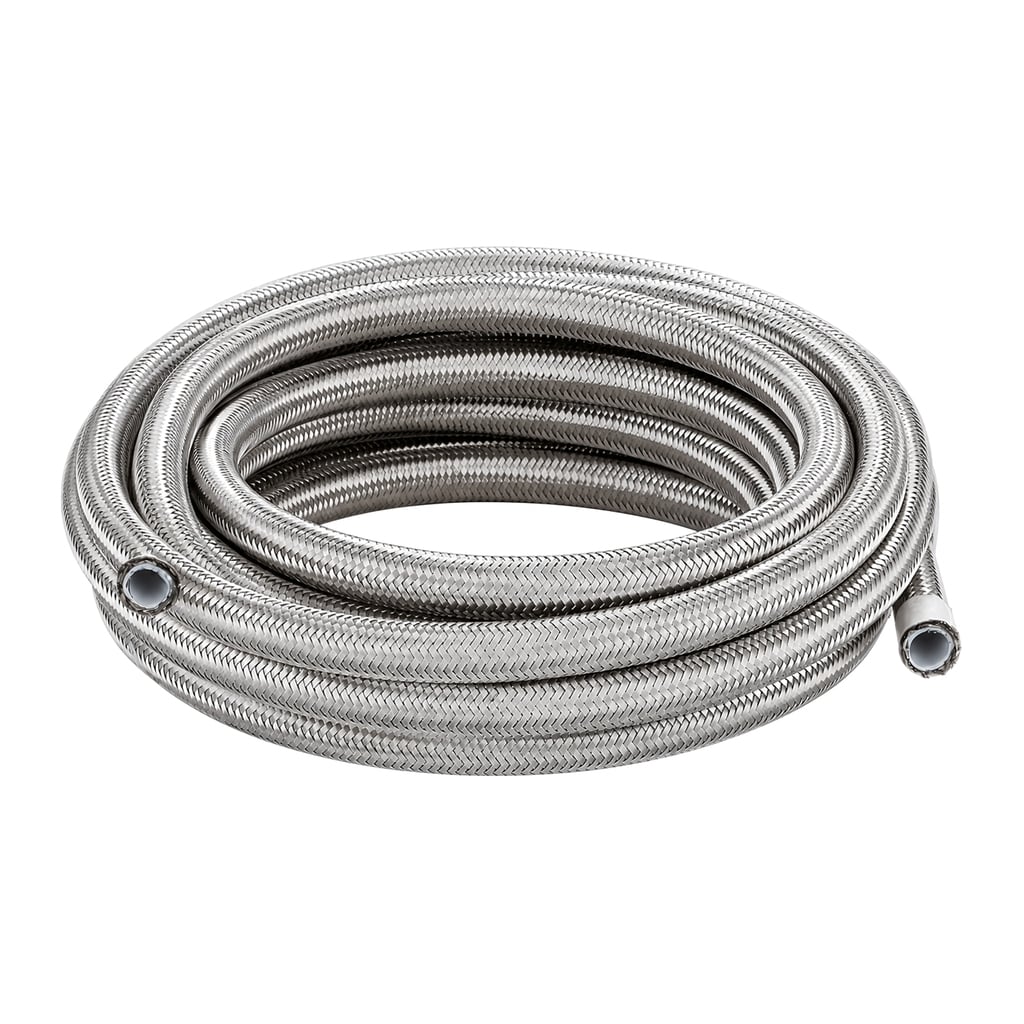
The AN standard, originally developed for military aircraft applications, defines precise dimensions for connectors used in high-pressure systems. Measuring AN connector compatibility involves checking multiple parameters: nominal size, thread type, dash number, and quick disconnect coupling characteristics. This guide walks you through the exact measurement techniques that professionals use to verify compatibility before installation.
Understanding AN Fitting Size and Dash Numbers
Identifying the Dash Number
Every AN connector displays a dash number that indicates its nominal tube diameter or equivalent bore size. The dash number appears as a hyphen followed by digits on the fitting body. For example, AN-6 means the AN fitting has a 6/16 inch (3/8 inch) diameter bore, while AN-12 indicates a 12/16 inch (3/4 inch) bore. Understanding this numbering system is the first critical step in measuring compatibility.
To accurately measure the dash number, use calipers to determine the outer diameter of the mating tube or hose. Cross-reference this measurement against standard AN fitting charts that correlate bore sizes to dash numbers. The AN thread adapter will only fit properly if both components share the matching dash number. Mismatched dash numbers result in loose connections or forced fittings that damage seals and cause leaks.
Measuring External Dimensions
Physical measurement of the AN connector body itself provides verification of the correct size classification. Measure the hex width across the flats of the fitting body using a wrench or caliper. Standard AN fittings follow strict dimensional specifications, so if your measurement deviates from the published dimension, you may have the wrong size or a defective part. Document these external dimensions before connecting your AN quick disconnect coupling or other system components.
Thread Type and Adapter Configuration
Thread Direction and Pitch Verification
AN fittings use either straight threads or tapered threads depending on application requirements. Straight thread AN connectors feature parallel threads along the entire length, while tapered thread variants taper inward to create a seal without additional sealing washers. The AN thread adapter you select must match the thread configuration of both the tube side and component side. Attempting to connect a tapered thread to a straight thread fitting results in leaks or damage.
Measure thread pitch using a thread gauge or by counting threads per inch with precision equipment. Standard AN fittings typically use 18 threads per inch for sizes AN-4 through AN-12. Verify thread direction by attempting a test fit with a known compatible component. If resistance occurs before the fitting seats fully, the thread pitch or direction may be incorrect. Never force an AN fitting connection; proper compatibility should allow smooth, hand-tight assembly followed by controlled wrench tightening.
Checking Adapter Compatibility
When using an AN thread adapter, measure both the inlet and outlet thread configurations separately. The adapter must have matching specifications on one end to connect with the AN fitting and compatible threads on the opposite end for your target component. Measure the thread sizes, pitch, and sealing surface geometry on both sides. Many installation problems stem from using adapters that appear similar but have slightly different thread specifications or seal designs.
Quick Disconnect Coupling Alignment and Sealing Surfaces
Verifying Coupling Engagement Dimensions
The AN quick disconnect coupling requires precise measurement of engagement surfaces and sealing interfaces. Measure the diameter of the coupling body at the engagement point where two halves connect. If the coupling diameter does not match the receiving socket dimension, the disconnect coupling will not seat properly, creating internal leaks or external spray hazards. Use precision calipers or go/no-go gauges to verify these critical dimensions.
Inspect the quick disconnect coupling's internal sealing cartridge by measuring its outer diameter and checking for cracks or contamination. Debris on sealing surfaces prevents proper engagement and causes leakage. Clean all coupling surfaces with lint-free cloths and measure again if you encounter resistance during connection. The coupling should insert smoothly until fully seated with a distinct click or audible engagement confirmation.
Pressure Rating and Material Verification
Measure and document the wall thickness of the AN connector body, which directly correlates to pressure rating. Thicker-walled fittings handle higher pressures than lighter variants. An AN quick disconnect coupling rated for 3000 PSI will fail if connected to a 5000 PSI system. Cross-reference your pressure requirement with manufacturer specifications for each component. Verify material composition because aluminum fittings differ from stainless steel or brass alternatives in strength and corrosion resistance.
FAQ
What is the most common mistake when measuring AN fitting compatibility?
The most frequent error is assuming that two fittings are compatible based on similar appearance without verifying the exact dash number and thread configuration. Professionals always measure the AN connector bore size with calipers and confirm thread specifications using thread gauges before assembly. Skipping these measurements leads to leaks, system damage, and safety failures.
Can you use an AN fitting from one size range with a different size tube through an adapter?
Yes, but only with a properly rated AN thread adapter that matches both the AN fitting size and the alternative tube size. The adapter must have compatible thread specifications on both ends and appropriate pressure ratings for your system. Never improvise connections with oversized or undersized adapters, as pressure spikes will rupture the fitting or hose assembly.
How do you measure if a quick disconnect coupling is sealed properly?
Inspect the AN quick disconnect coupling sealing surfaces by measuring the cartridge diameter and checking for debris or damage using magnification if necessary. Connect and disconnect the coupling while listening for pressure release sounds. A properly sealed coupling disconnects without spray. If fluid escapes during disconnect, the sealing surface measurement has likely changed due to wear, and the coupling requires replacement.
 EN