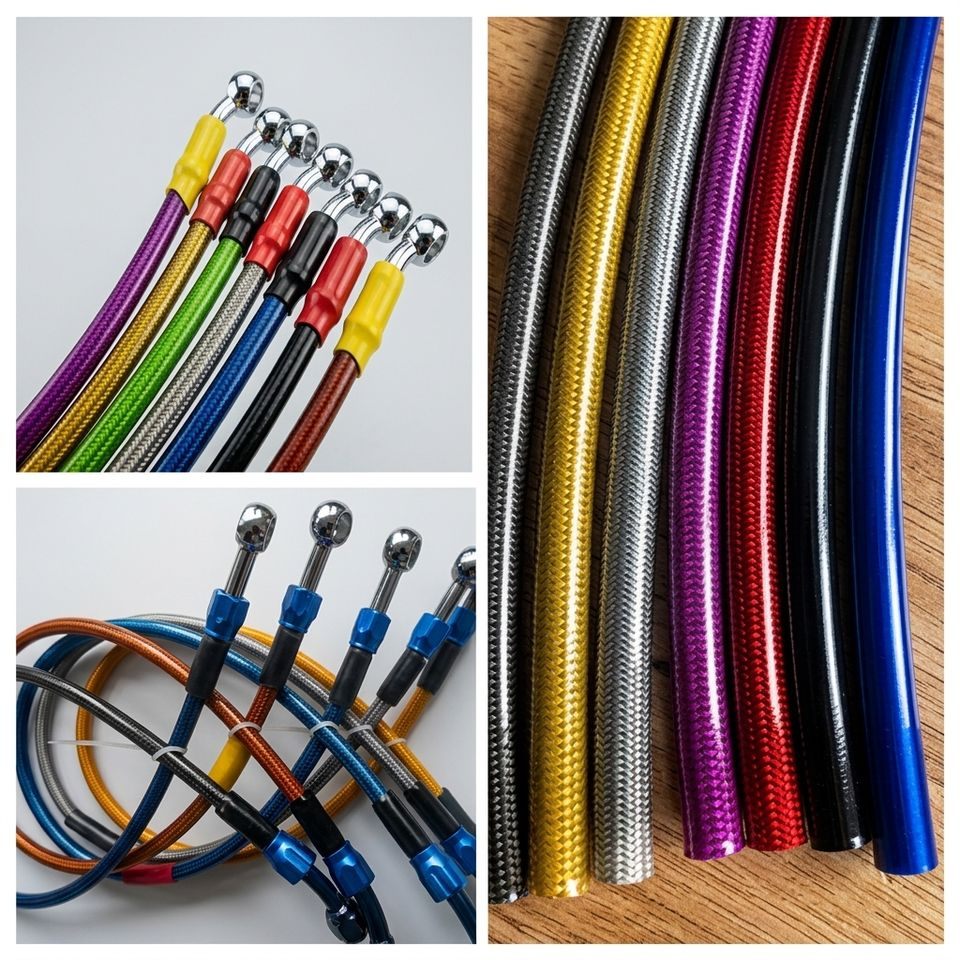
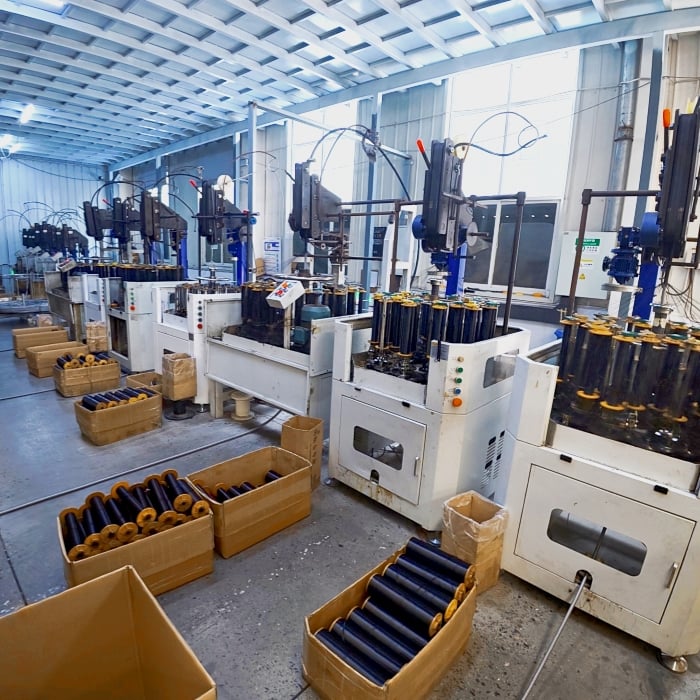
Installing a brake hose correctly is one of the most critical maintenance tasks you can perform on any vehicle or hydraulic system. A properly installed brake hose ensures reliable stopping power, prevents fluid leaks, and protects your investment in brake system performance. Whether you are replacing a damaged brake hose or upgrading to higher-quality components, understanding the correct installation procedure is essential for safety and longevity. This guide walks you through each step to ensure your brake system operates at peak efficiency.
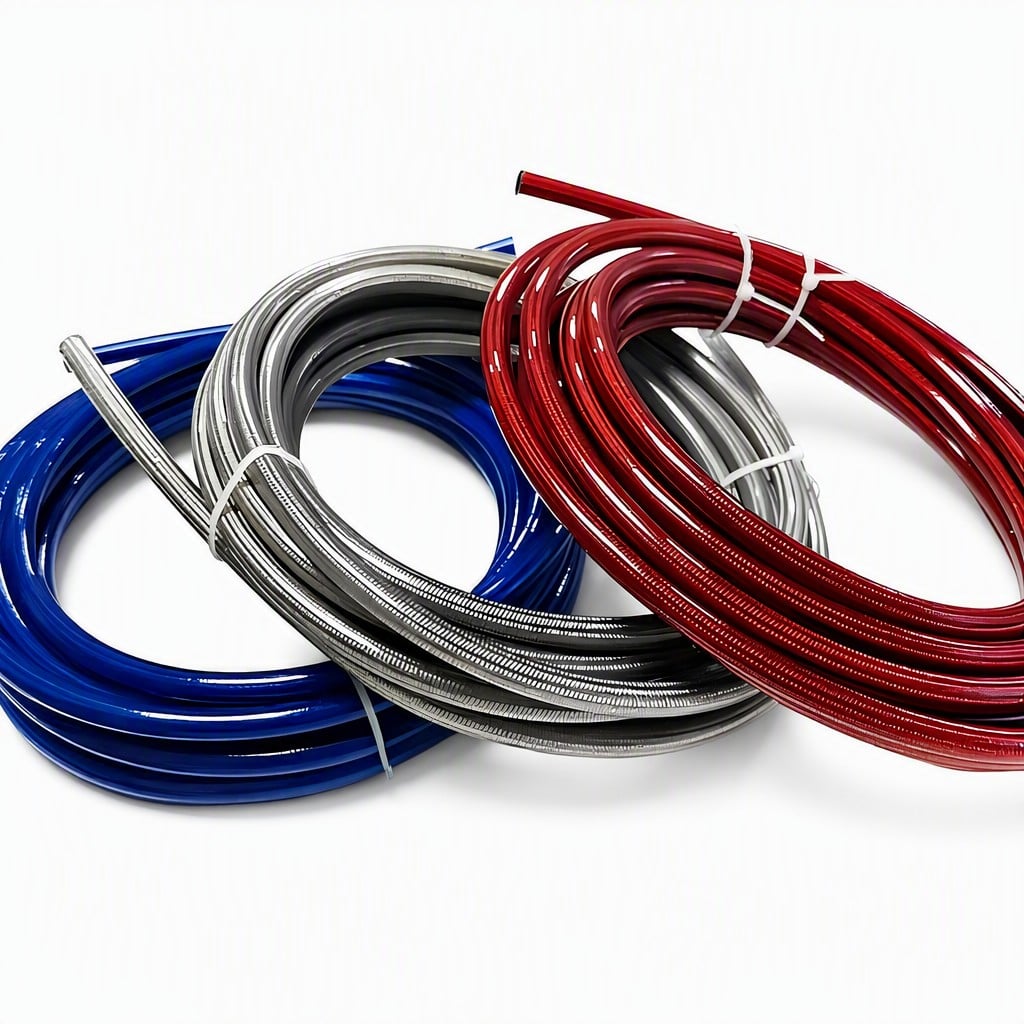
The process of installing a brake hose involves careful preparation, precise assembly, and thorough testing. Success depends on understanding the relationship between hydraulic brake tubing components and the overall brake system layout. Whether you are performing brake line replacement on a car, truck, motorcycle, or industrial equipment, the fundamental principles remain consistent. Attention to detail during installation directly impacts brake responsiveness, safety margins, and the durability of your brake system maintenance efforts.
Preparing Your Work Area and Gathering Tools
Essential Tools and Materials
Before you begin, gather all necessary tools and materials to complete your brake line replacement project efficiently. You will need a wrench set, flare wrench tools, brake fluid compatible with your system, a vacuum bleeder or manual bleeding kit, and high-quality hydraulic brake tubing. Having the correct brake hose for your specific vehicle or equipment model is non-negotiable. Verify that your new brake hose meets the pressure ratings and dimensional specifications required by the manufacturer. Organize your workspace to prevent contamination of hydraulic components.
Preparation Steps
Start by locating the brake system components you will work with. Consult your equipment manual to identify connection points and understand the brake system layout. Clean the area around existing brake line connections to reduce the chance of dirt entering the hydraulic system. Drain or depressurize the brake system according to manufacturer guidelines. Place absorbent material under connection points to catch any spilled brake fluid. Ensure adequate lighting and ventilation in your work area before beginning brake system maintenance tasks.
Step-by-Step Installation Procedure
Removing the Old Brake Hose
Carefully disconnect the old brake hose from both the master cylinder and wheel-side connections. Use flare wrenches to prevent rounding the fitting nuts during brake line replacement. Note the exact routing and positioning of the original brake hose before removal. Identify any mounting brackets or clips that hold the hydraulic brake tubing in place. Remove these fasteners and set them aside for reuse. Take photographs of the original brake hose routing to reference during installation of the new components.
Installing the New Brake Hose
Position your brake hose carefully along the path used by the original component. Ensure the new hydraulic brake tubing does not contact sharp edges, moving parts, or hot engine surfaces. Route the brake line replacement away from the engine bay heat and exhaust components when possible. Use existing mounting brackets to secure the new brake hose, ensuring it maintains proper tension without kinking. Thread fitting nuts by hand first to avoid cross-threading. Use flare wrenches to tighten connections to the manufacturer-specified torque value, typically 10 to 15 foot-pounds for standard automotive connections.
Bleeding and Testing Your Brake System
Bleeding Air from Hydraulic Lines
After brake line replacement is complete, air must be purged from the hydraulic brake tubing before normal operation. Begin at the wheel furthest from the master cylinder and work toward the closest connection. Attach a clear tube to the bleeder valve and direct the other end into a container. Open the bleeder valve slightly and have an assistant press the brake pedal repeatedly until fluid flows without bubbles. Close the bleeder valve before the assistant releases the brake pedal. Repeat this process at each brake system maintenance point until all air is removed.
Final Testing and Verification
Once bleeding is complete, test brake response by applying steady pressure to the pedal or control lever. The brake system should feel firm and responsive, not spongy or delayed. Check all connection points for leaks by applying brake pressure and inspecting the hydraulic brake tubing carefully. Look for any signs of fluid weeping around the newly installed brake hose connections. If leaks are present, identify whether tightening the fitting or reseating the connection resolves the issue. Perform a controlled test of brake function in a safe environment to confirm proper brake system maintenance and performance.
Common Installation Mistakes to Avoid
Routing and Positioning Errors
One frequent mistake during brake line replacement is improper routing that allows the brake hose to contact moving engine components or hot surfaces. This can damage the hydraulic brake tubing insulation and cause premature failure. Never twist or kink the new brake hose during installation, as this restricts fluid flow and weakens the component. Another common error is failing to support the brake hose adequately with mounting brackets and clips. Unsupported hoses vibrate excessively, leading to connection loosening and brake system maintenance issues.
Connection and Pressure Mistakes
Over-tightening brake hose fittings can strip threads and compromise the hydraulic brake tubing connection integrity. Conversely, under-tightening fittings allows fluid leakage and brake failure. Always use the correct size flare wrench to minimize the risk of rounding fitting nuts. Failing to bleed the brake system completely results in a spongy brake pedal and unreliable stopping power. During brake system maintenance, never mix incompatible brake fluids, as this can damage seals and degrade performance. Skipping pressure testing allows hidden leaks to become hazardous during normal operation.
FAQ
How tight should brake hose fittings be when installing a brake system?
Brake hose fittings should be tightened firmly but not excessively. Most standard automotive connections require 10 to 15 foot-pounds of torque. Consult your equipment manual for the exact specification, as performance vehicles and specialized systems may have different requirements. Use a calibrated torque wrench when possible to achieve consistent pressure across all connections.
What happens if air remains in the brake line after installation?
Air trapped in hydraulic brake tubing creates a soft or spongy brake pedal that fails to produce adequate stopping power. The compressibility of air prevents proper hydraulic pressure transmission to the brake calipers or cylinders. Complete brake system maintenance requires thorough bleeding to remove all air pockets. Incomplete bleeding can result in sudden brake loss during emergency stops, creating a serious safety hazard.
Can I reuse old brake line connections when performing brake hose replacement?
Old brake hose fittings and connections should generally not be reused during brake line replacement. Metal fittings can develop microscopic damage or corrosion that compromises the seal quality. Using degraded connections during brake system maintenance risks leaks and system failure. Always install new fittings compatible with your hydraulic brake tubing to ensure reliability and maintain warranty protection.
 EN