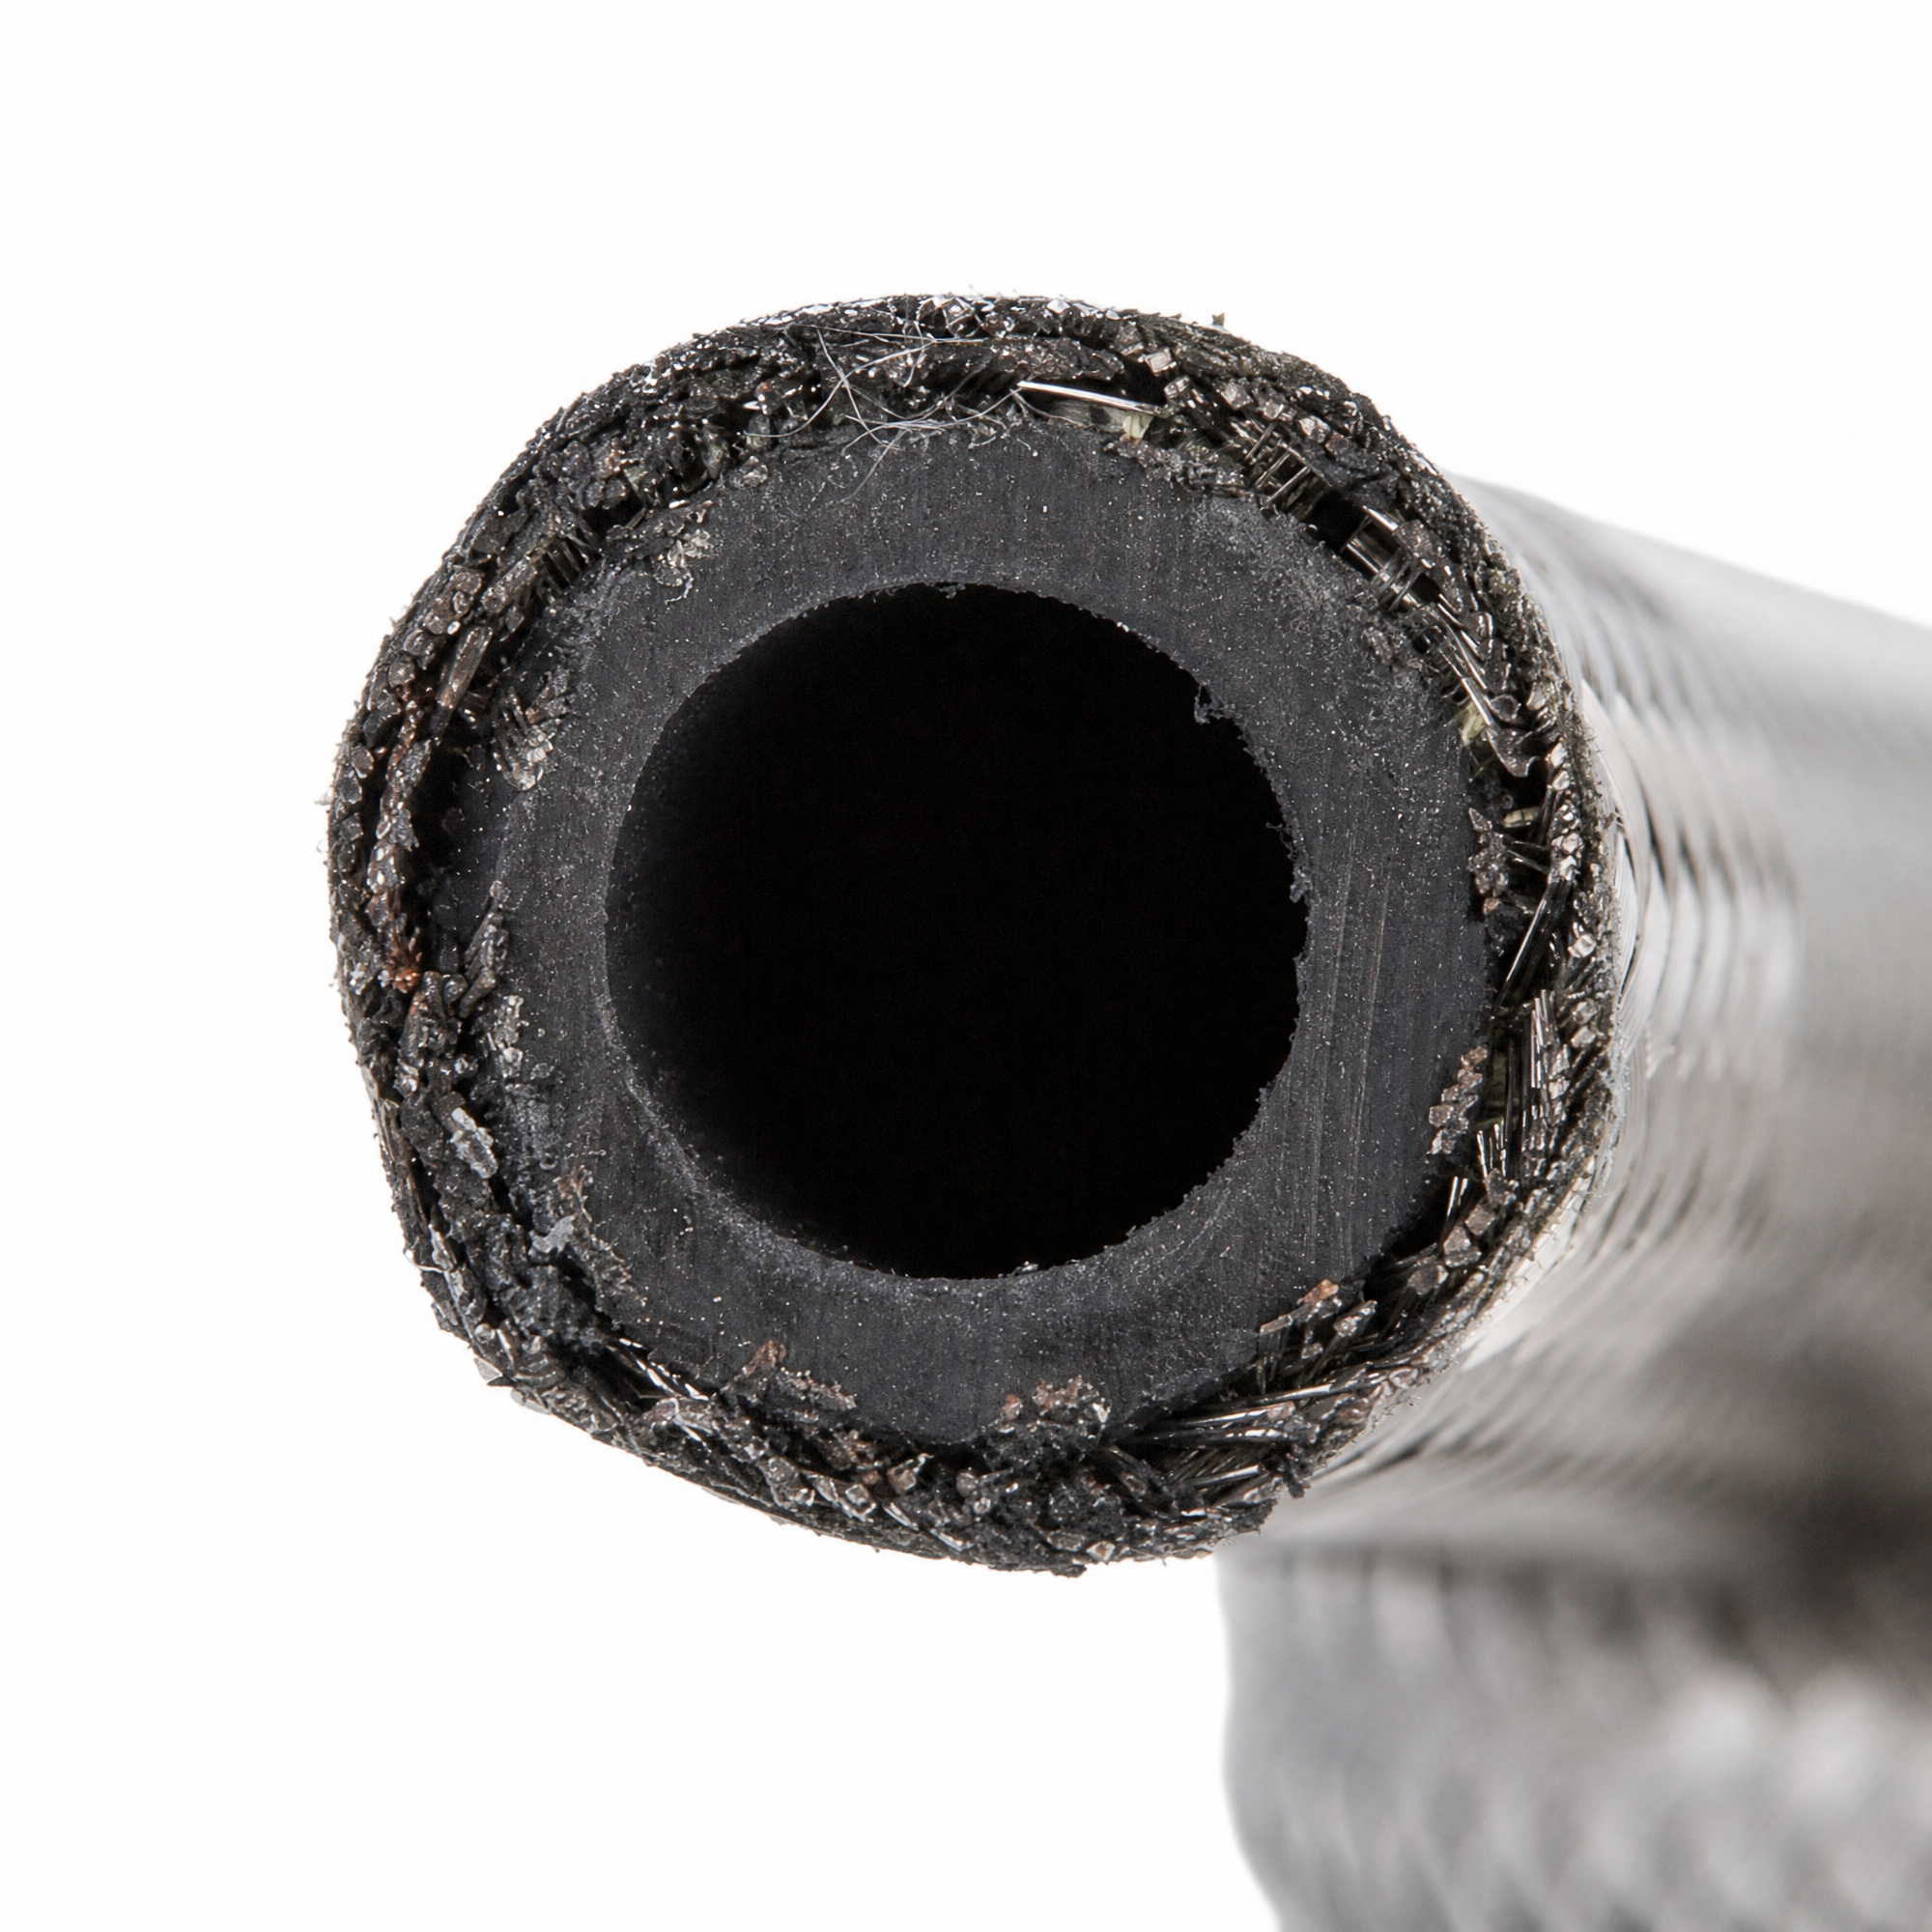
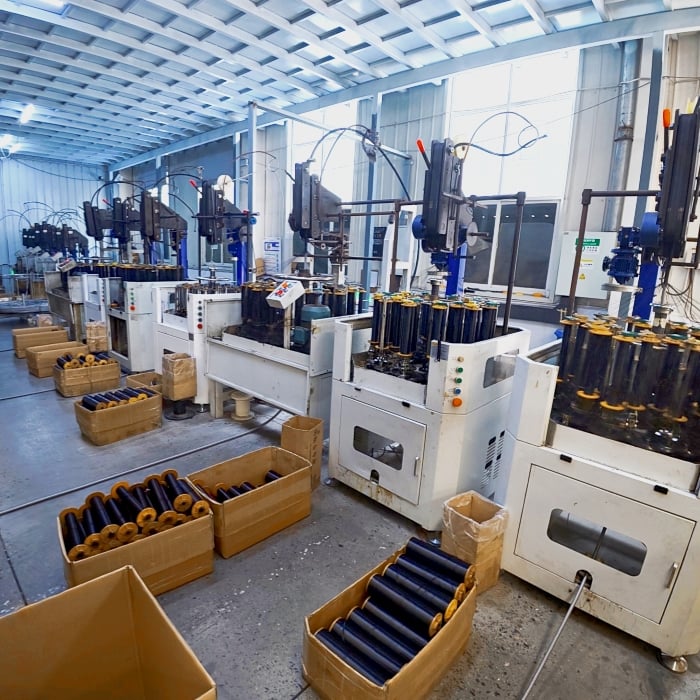
Proper installation of a radiator hose is essential for maintaining a healthy engine cooling system and preventing costly breakdowns. Many vehicle owners underestimate the importance of correct radiator hose installation, often rushing through the process or failing to follow critical safety steps. Whether you are replacing a cracked coolant hose, performing routine maintenance, or addressing a leak, understanding the right installation procedure will save you time, money, and potential engine damage. A poorly installed radiator hose can lead to coolant leaks, overheating, and reduced engine performance, making this a task that demands attention to detail and precision.
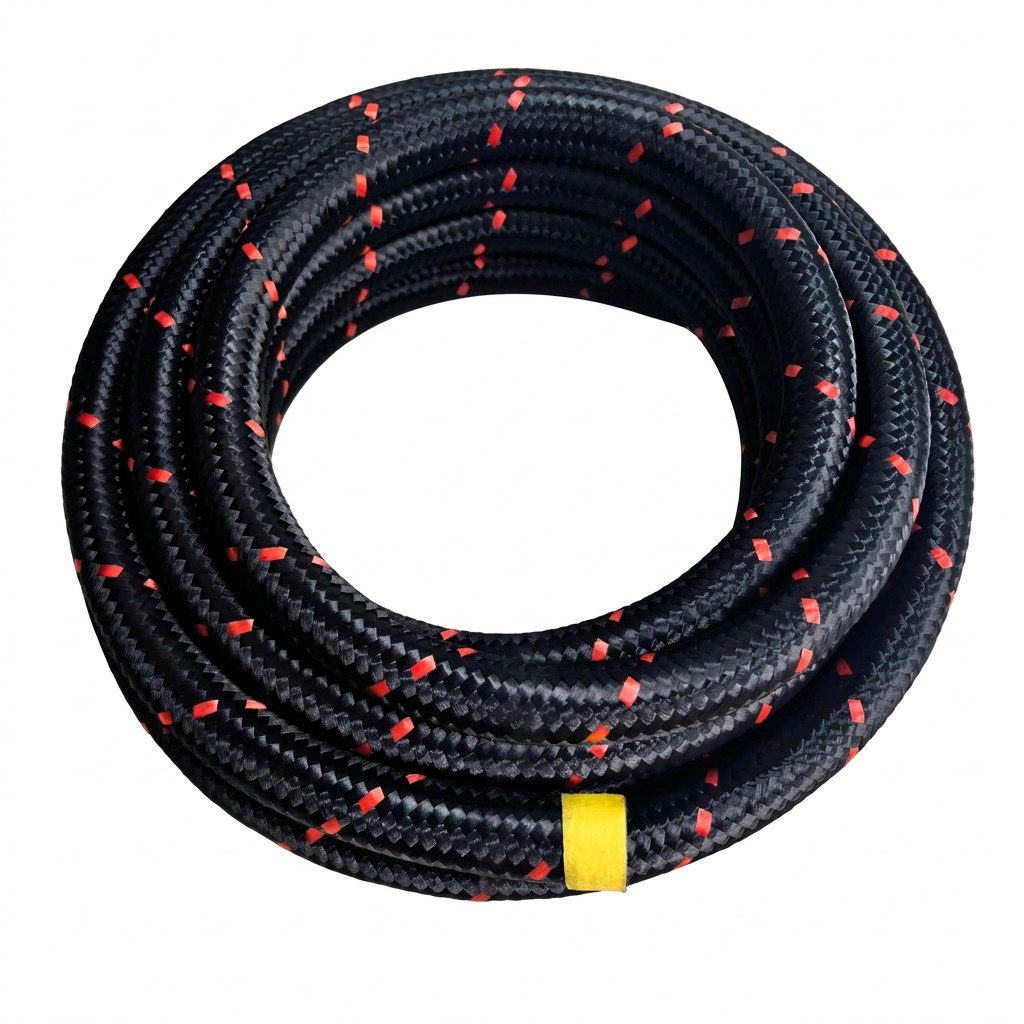
The engine cooling system relies on a series of interconnected components working in harmony, with the radiator hose serving as a vital conduit for coolant circulation. Installing a radiator hose correctly ensures optimal coolant flow, maintains proper system pressure, and extends the lifespan of related components. This guide walks you through each step of the installation process, from preparation to final testing, helping you achieve professional-quality results whether you are a seasoned mechanic or a first-time DIY enthusiast working on radiator hose replacement.
Preparing Your Vehicle and Workspace
Gathering Essential Tools and Materials
Before beginning radiator hose replacement, collect all necessary tools and materials to streamline the process. You will need a socket set, wrenches, hose clamps, a hose cutter or sharp utility knife, a drain pan, coolant, a wrench for clamp tightening, and potentially a hose removal tool. Having these items within reach prevents interruptions and ensures you maintain focus on proper installation procedures. Additionally, prepare your workspace by ensuring adequate lighting and ventilation, as working with coolant in poorly lit areas increases the risk of mistakes.
Cooling System Safety and Preparation
Always allow the engine to cool completely before attempting any work on the engine cooling system. Hot coolant can cause severe burns, and working on a warm system risks pressure-related accidents. Disconnect the negative battery terminal to eliminate electrical hazards during the process. Consult your vehicle's manual to locate the drain plug and drain a sufficient amount of coolant into a proper container, as removing a radiator hose will release remaining fluid. Mark the old coolant hose with tape or markers to ensure you install its replacement in the correct position, particularly when dealing with multiple cooling system hoses.
Step-by-Step Installation Procedure
Removing the Old Radiator Hose
Begin by loosening the hose clamps on both ends of the old radiator hose using the appropriate wrench size. Carefully twist and wiggle the hose while pulling it away from the connection points to break the seal without damaging the nipples. If the hose is stuck due to age or corrosion, apply penetrating oil and wait several minutes before attempting removal. Never force the hose, as damaging the connection points can lead to costly repairs. After successfully removing the old radiator hose, inspect the connection points for cracks, corrosion, or deterioration that might require additional attention.
Installing the New Radiator Hose
Before installing your new coolant hose, clean the connection points thoroughly with a cloth to remove debris, old rubber particles, and any corrosion. This ensures a secure seal and prevents future leaks. Slide the new radiator hose onto both connection points, ensuring it seats fully and completely at each end. The hose should fit snugly without forcing, indicating proper sizing and compatibility with your engine cooling system. Position the new hose to avoid contact with hot engine components, sharp edges, or moving parts that could cause premature wear or damage.
Securing the Radiator Hose Properly
Install hose clamps on both ends of the radiator hose, positioning them approximately one quarter inch from the end of each connection. Tighten the clamps gradually in a crosswise pattern to ensure even pressure distribution and prevent uneven stress on the coolant hose. The clamp should be snug enough to prevent slipping but not so tight that it crushes or deforms the hose material. Over-tightening is a common mistake that can damage the hose and lead to leaks over time. Use a torque wrench if available to achieve the manufacturer's recommended clamp tension specification.
Testing and System Verification
Refilling and Bleeding the Cooling System
After securing the radiator hose replacement, refill the cooling system with the appropriate coolant type and quantity specified in your vehicle manual. Pour coolant slowly to allow air to escape from the system naturally. Start the engine and allow it to idle while monitoring coolant levels closely, as air pockets may initially cause levels to drop. Continue adding coolant as needed until the system reaches the proper fill line. Proper filling prevents air pockets in the radiator hose that could interrupt coolant circulation and compromise the engine cooling system's effectiveness.
Inspecting for Leaks and Performance
Allow the engine to warm up to normal operating temperature while watching closely for any signs of coolant leaks around the new radiator hose installation points. Check both hose clamp locations and the entire length of the hose for drips or seepage. If leaks are visible, turn off the engine immediately, allow it to cool, and tighten the clamps slightly before retesting. Monitor your temperature gauge throughout the test drive to ensure the engine cooling system maintains normal operating temperature. A properly installed radiator hose will deliver consistent coolant flow without leaks, resulting in stable engine temperatures and reliable performance.
FAQ
What are the warning signs that my radiator hose needs replacement?
Common indicators include visible cracks, soft or bulging sections, coolant leaks beneath your vehicle, a sweet smell from the engine bay, or overheating warnings on your dashboard. Age alone is also a factor; most mechanics recommend replacing your coolant hose every four to six years regardless of visible damage, as rubber deteriorates over time and loses flexibility. If you notice any of these symptoms, schedule radiator hose replacement promptly to prevent more serious engine cooling system failures.
Can I reuse hose clamps when installing a new radiator hose?
While some hose clamps can be reused, it is often better to install new ones during radiator hose replacement to ensure optimal security and reliability. Old clamps may have lost their clamping force or become damaged during removal, compromising the seal on your new coolant hose. Spring clamps, in particular, should be replaced during radiator hose replacement as they lose tension over time. Investing in fresh hose clamps is inexpensive insurance against leaks and future engine cooling system problems.
How long does a radiator hose installation typically take?
For a straightforward upper or lower radiator hose replacement, the process usually takes between one and two hours for an experienced DIY mechanic, depending on engine bay layout and access difficulty. Professional mechanics typically complete radiator hose replacement in thirty to forty-five minutes. The timing varies based on the specific hose location, your familiarity with your vehicle, and whether complications like stuck clamps or corroded connection points arise. Complex installations may take longer, but rushing through the process risks mistakes that compromise your engine cooling system.
 EN