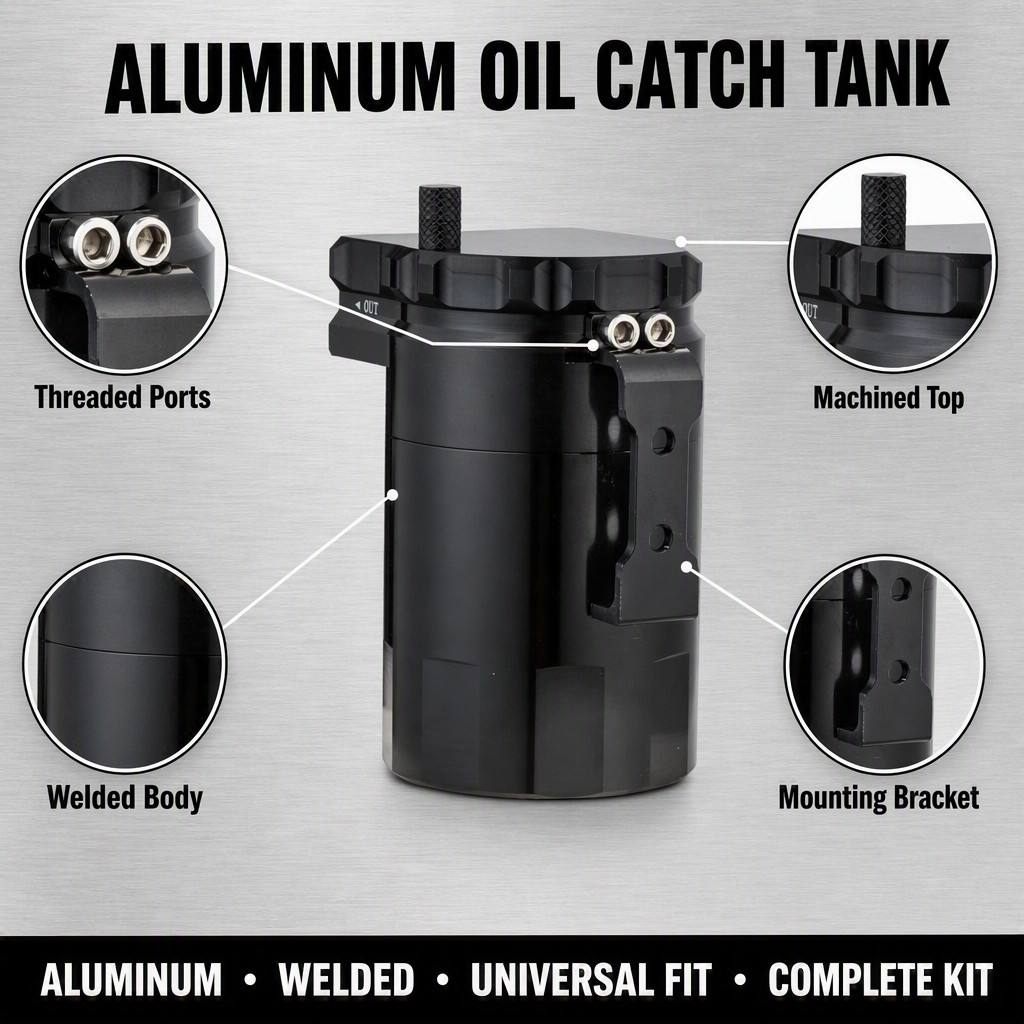
A catch can system is essential for modern engine protection and performance optimization. Installing a catch can correctly ensures your engine remains clean, efficient, and free from harmful crankcase vapors that accumulate during normal operation. Whether you're working on a high-performance build or maintaining a daily driver, understanding the proper installation process protects your engine investment and prevents costly damage down the road.
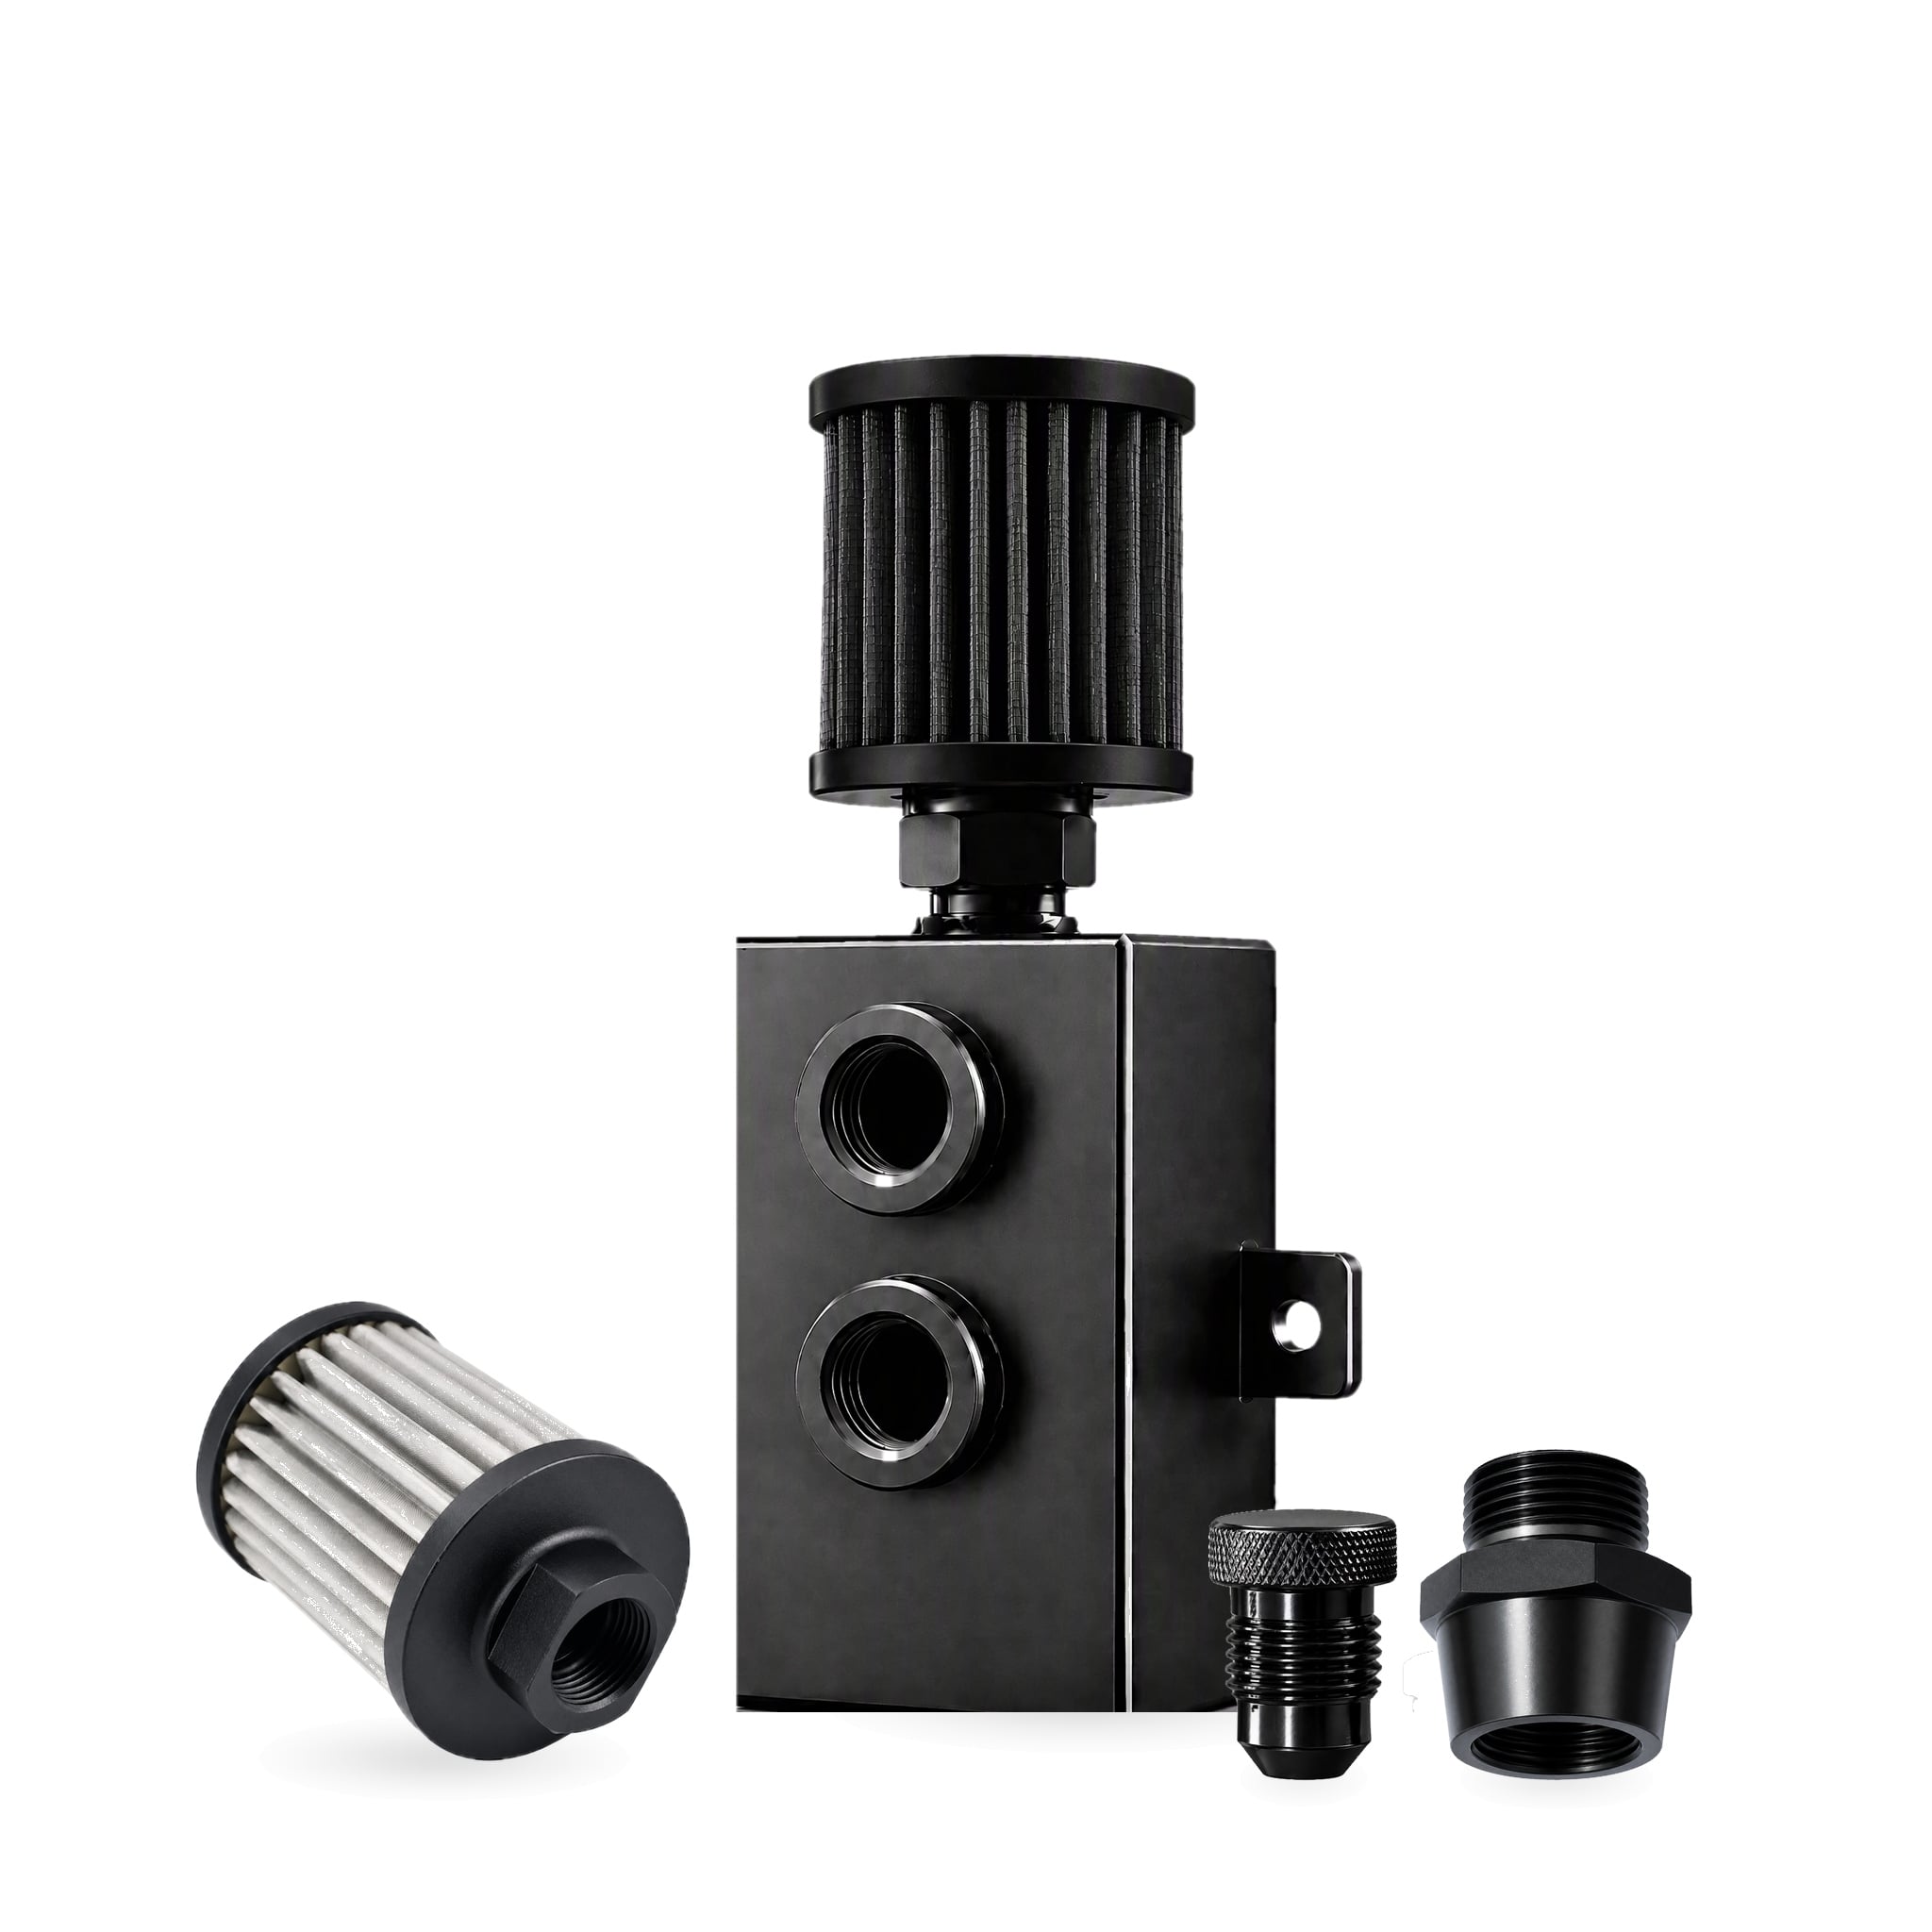
The engine catch can system intercepts blow-by gases from your crankcase before they enter the intake manifold. This separation prevents oil vapors, fuel residue, and moisture from contaminating your fuel mixture and coating your intake valves. Proper installation of your PCV catch can installation ensures maximum efficiency while maintaining engine reliability. A well-installed catch can system reduces carbon buildup, improves throttle response, and extends engine life significantly.
Planning Your Engine Catch Can System Installation
Selecting the Right Location
Before installing your engine catch can system, identify the optimal mounting location that minimizes hose runs and maintains proper drainage. The catch can should sit lower than the PCV valve outlet to allow gravity-assisted drainage of collected oil back into the engine. Choose a spot with adequate airflow to help dry any moisture, and avoid areas prone to extreme heat that might degrade hoses and fittings. Most installations work best near the shock tower, fender wall, or undercarriage frame where the can remains secure and protected from debris.
Gathering Required Materials
Successful PCV catch can installation requires proper fittings, hoses, and hardware matched to your vehicle's specifications. You'll need the catch can container itself, appropriate diameter hoses rated for crankcase pressure, barbed fittings that match your engine's outlet ports, hose clamps rated for engine temperatures, and a drain valve for regular catch can maintenance and cleaning. Verify that all components are compatible with your specific engine design and that hose sizes align with your vehicle's PCV system. Gather tools including wrenches, screwdrivers, a hose cutter, and thread sealant before beginning your installation project.
Step-by-Step Installation Process
Preparing the Engine and Routing Hoses
Start by disconnecting the negative battery terminal and allowing the engine to cool completely for safety. Locate the PCV valve outlet on your engine block and disconnect the existing hose from the intake manifold connection. Measure and route your new hoses carefully, avoiding hot exhaust components, sharp edges, and moving belts that could damage them during operation. Plan your hose pathway to maintain gentle curves rather than tight bends, which restricts airflow and prevents proper engine catch can system function. Secure hoses along their entire length using brackets or zip ties to prevent vibration damage and maintain a professional appearance.
Mounting the Catch Can Assembly
Firmly secure your catch can to the chosen mounting location using quality stainless steel brackets rated for vibration and corrosion resistance. Ensure the container sits level or slightly tilted to encourage proper drainage of collected oil back toward the drain valve. Connect the upper outlet hose from the PCV source to the catch can inlet port using barbed fittings and two hose clamps on each connection for security. Attach the bottom drain valve with appropriate thread sealant on the fitting to prevent leaks during normal catch can maintenance and cleaning operations. Connect the return line from the catch can outlet back to the intake manifold or crankcase breather, completing your PCV catch can installation circuit.
Verification and Performance Tuning
Testing System Integrity
Before starting the engine, verify that all hose connections are tight, all clamps are secure, and the catch can is properly mounted without movement. Check that no hoses contact hot engine surfaces or moving components that could create leaks or damage. Start the engine and listen for any unusual hissing sounds indicating air leaks at connection points. Inspect your newly installed engine catch can system for any oil weeping at fittings and tighten connections if necessary. Run the engine at various RPM levels for several minutes to verify stable operation and proper catch can maintenance and cleaning performance under load conditions.
Regular Maintenance Protocol
Establish a consistent maintenance schedule for your catch can system based on driving conditions and engine type. Check the catch can level every month during the warmer months when blow-by gases increase significantly. Drain accumulated oil when the can reaches approximately three-quarters full to maintain optimal PCV catch can installation performance. Inspect hoses periodically for cracks, splitting, or discoloration indicating degradation from heat or UV exposure, replacing them immediately if damage appears. Clean the interior catch can surfaces annually to remove stubborn residue and ensure your engine catch can system operates at peak efficiency throughout its service life.
FAQ
Why is proper catch can installation important for engine performance?
Correct installation of your catch can ensures efficient separation of blow-by gases and oil vapors from your intake air. This prevents carbon buildup on intake valves, improves combustion efficiency, maintains cleaner spark plugs, and preserves fuel economy. An improperly installed catch can system allows contaminants to bypass the filter, negating all protective benefits and potentially causing the same damage the system was designed to prevent.
How often should I perform catch can maintenance and cleaning?
The frequency of catch can maintenance and cleaning depends on your driving habits, engine condition, and fuel quality. Most drivers should drain accumulated oil monthly during summer months and every two to three months during winter. High-performance engines or those running premium fuel may require more frequent servicing, while well-maintained older vehicles might need quarterly attention. Monitor your catch can level regularly and adjust the schedule based on how quickly oil accumulates in your specific installation.
Can I install an engine catch can system myself without professional help?
Yes, most DIY enthusiasts can successfully install an engine catch can system with basic mechanical skills and appropriate tools. The process involves routing hoses, securing the container, and making simple connections that don't require specialized equipment. However, if you're uncomfortable working under the hood or your vehicle has unusual routing requirements, professional installation ensures your PCV catch can installation meets all specifications and functions reliably from day one.
 EN