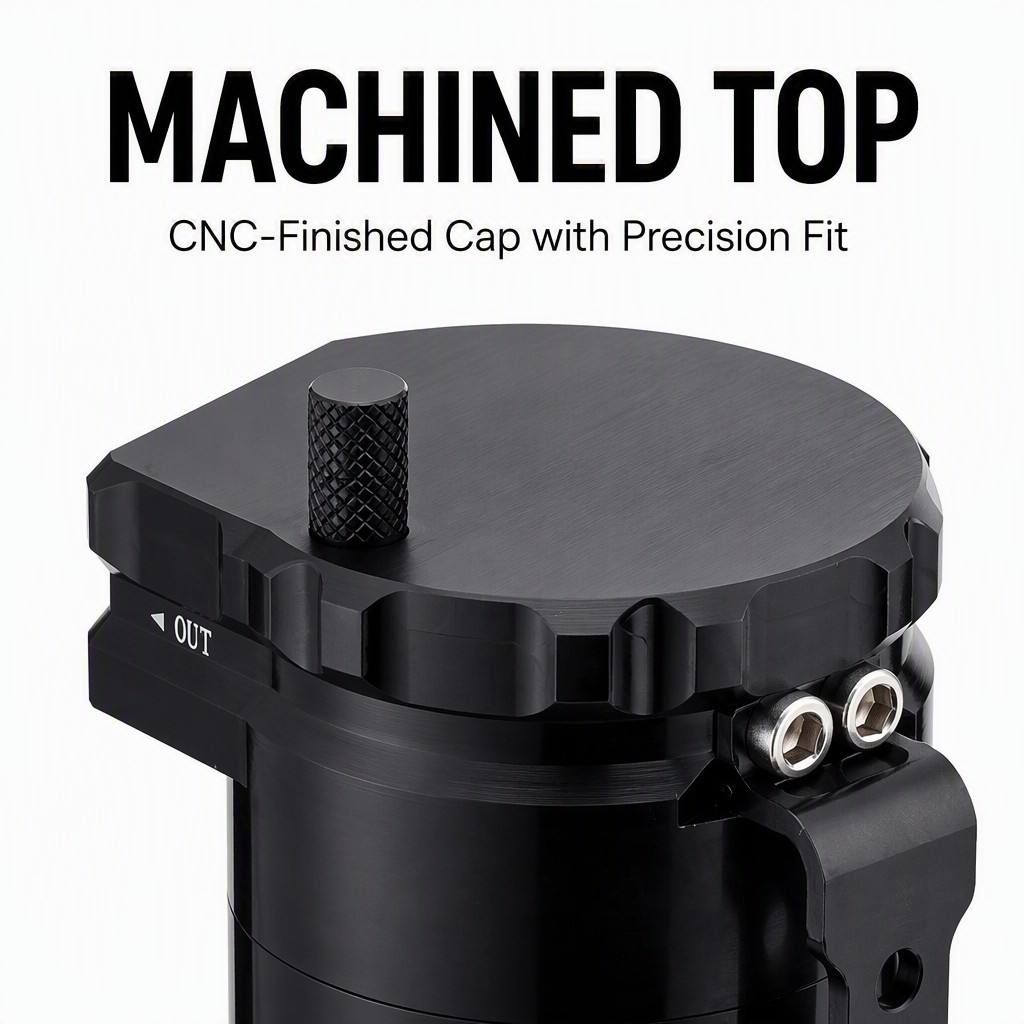
A catch can is an essential component for protecting your engine from harmful oil vapors and contaminants. The engine catch can system captures blow-by gases that would otherwise accumulate in your intake manifold, preventing sludge buildup and maintaining optimal engine performance. Understanding how to install a catch can properly ensures you get the maximum benefit from this investment and protects your engine for years to come.
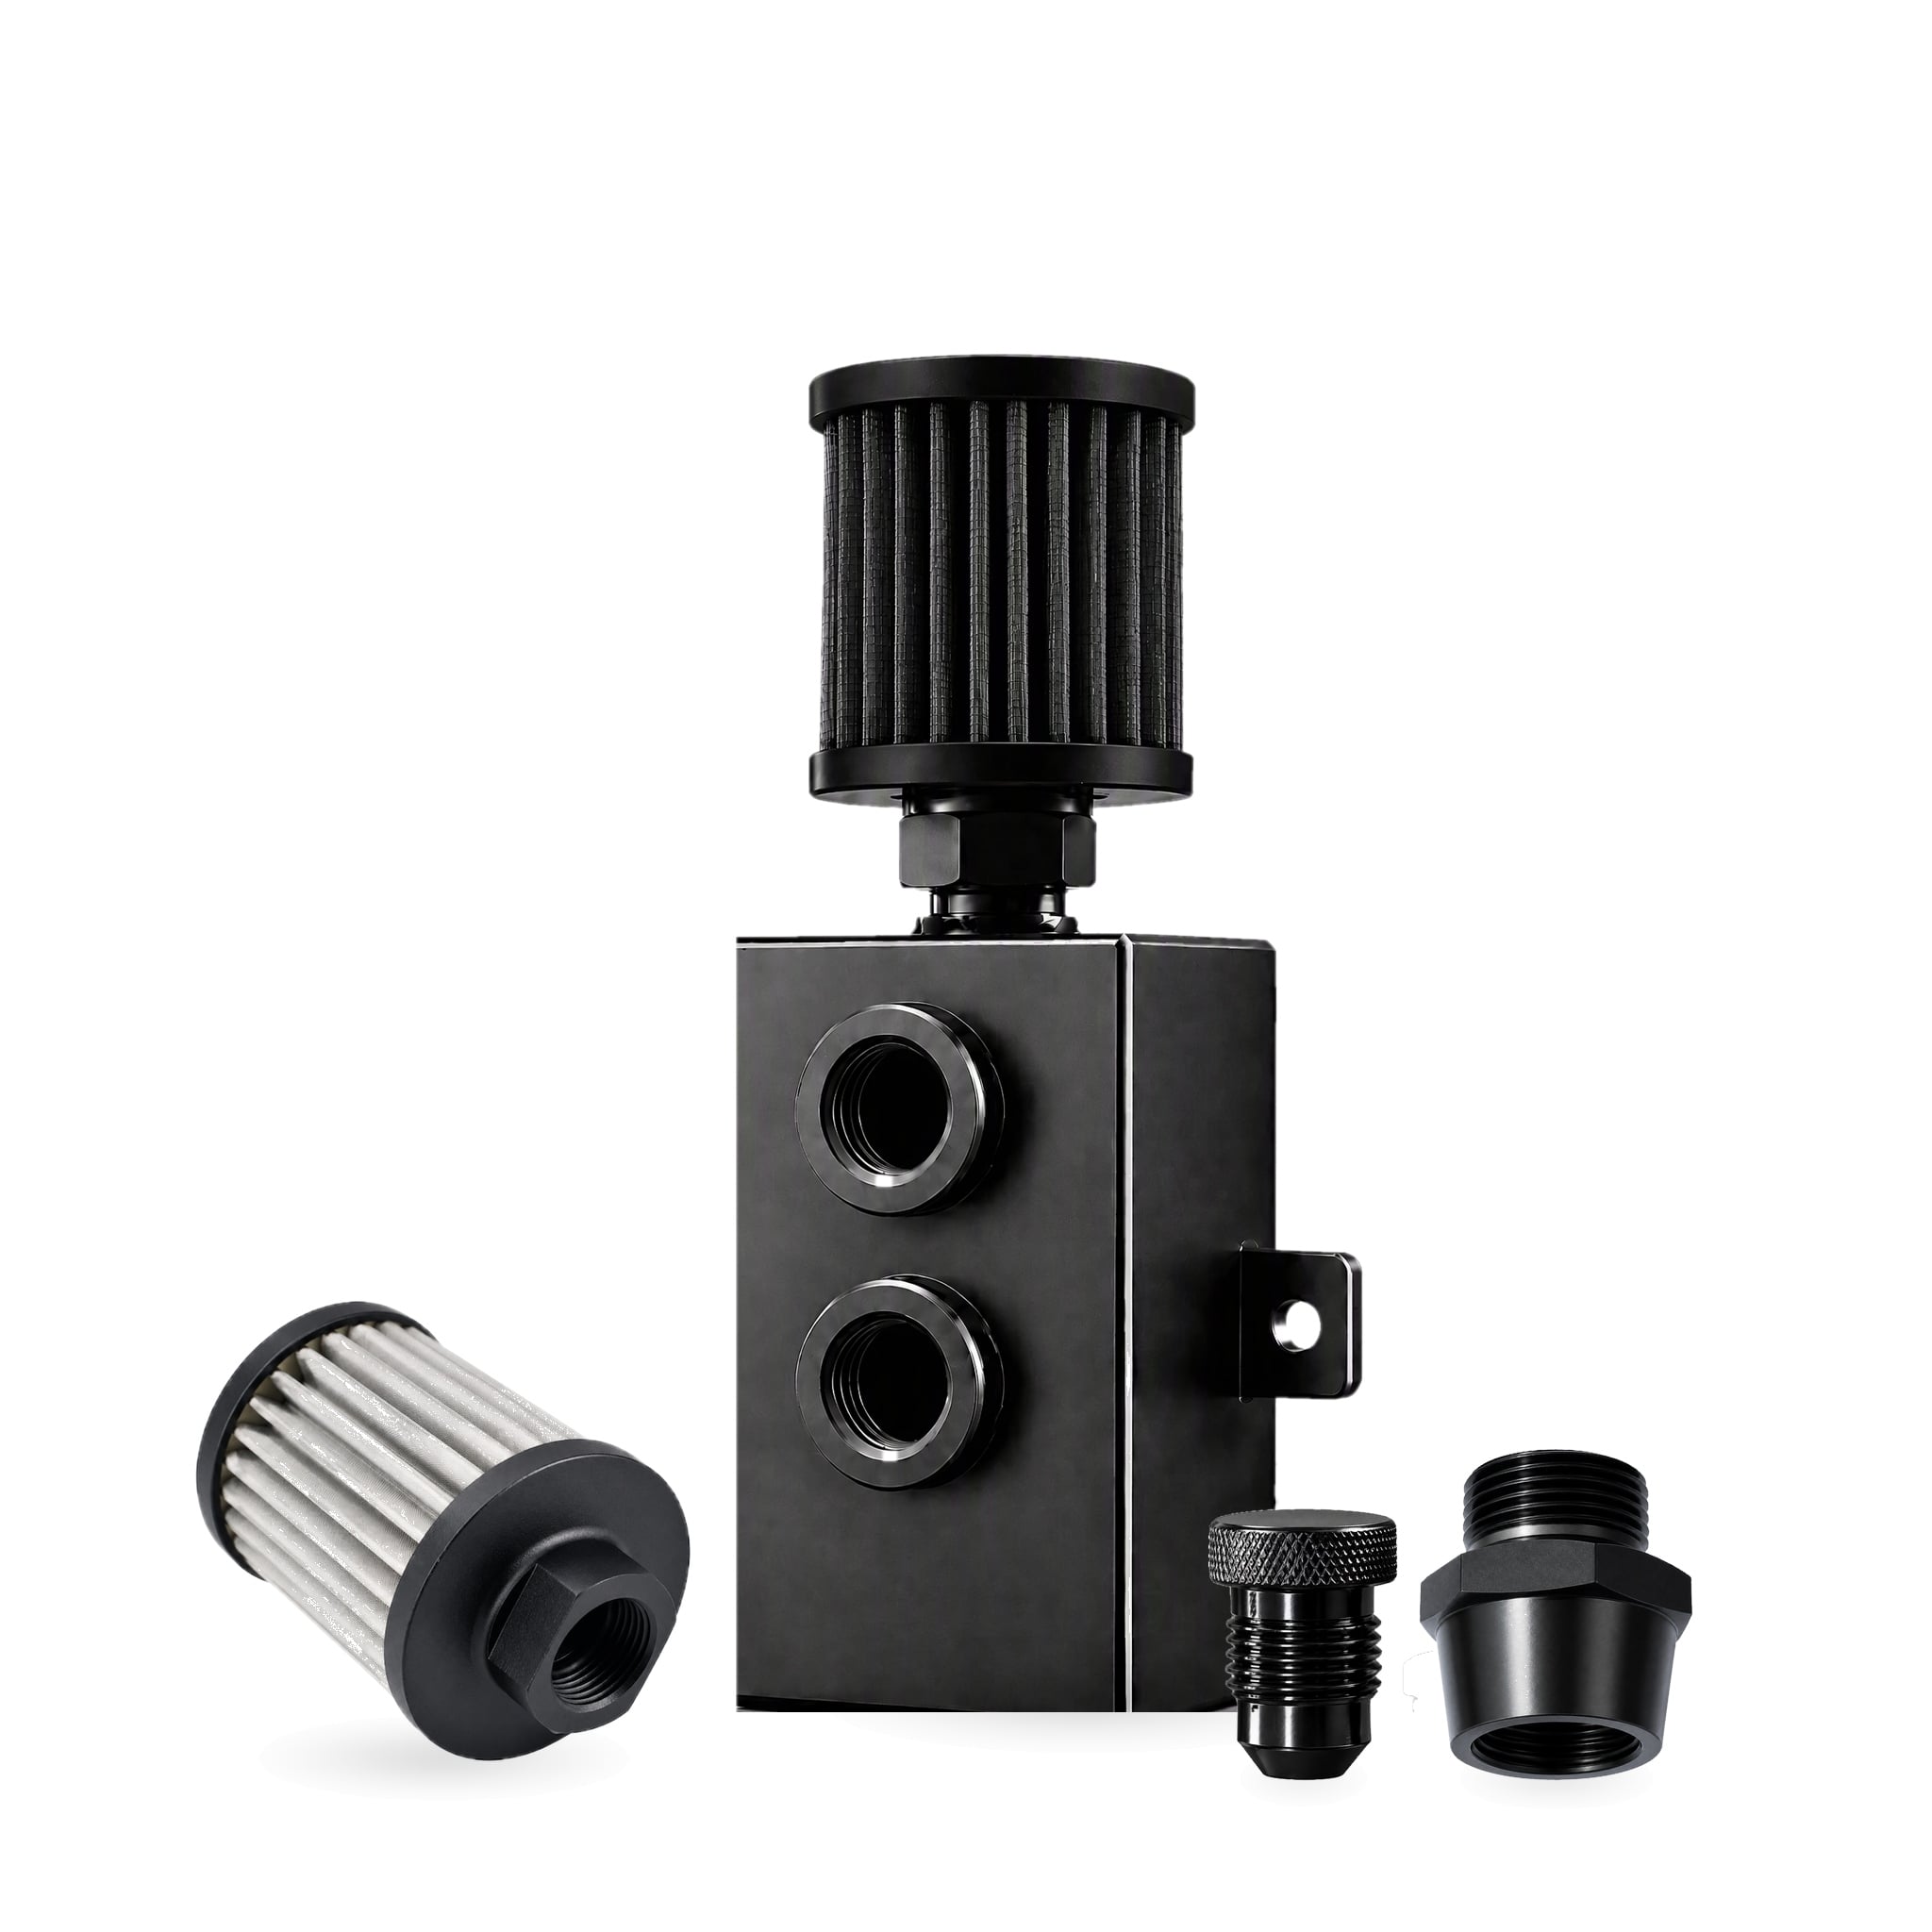
Proper installation of your engine catch can system requires careful attention to detail and understanding of your vehicle's PCV system. Whether you drive a high-performance vehicle or simply want to extend engine life, following correct installation procedures prevents leaks, ensures efficient vapor capture, and maintains engine reliability. This comprehensive guide walks through everything you need to know about installing a catch can successfully.
Understanding Catch Can System Components
Core Parts of an Engine Catch Can System
Your engine catch can system consists of several critical components that work together to manage blow-by gases. The main reservoir collects oil vapors and moisture, while internal baffles separate liquid from vapor. Quality PCV catch can installation requires understanding these components first. The inlet port connects to your PCV line, the outlet returns filtered gases to the engine, and drain valves allow periodic removal of accumulated oil and coolant.
Many modern systems include multiple chambers for enhanced separation and condensation. Float valves prevent overfill situations, while breather elements filter contaminants from returning vapors. A properly designed engine catch can system maintains consistent pressure while preventing backflow into your intake manifold. Understanding how each part functions ensures you install and maintain the system correctly.
Selecting the Right Catch Can for Your Vehicle
Not all catch can models fit every engine configuration. You must verify compatibility with your vehicle's PCV system before purchasing. Check your owner's manual and research your specific engine's blow-by characteristics. The right engine catch can system accommodates your vehicle's airflow requirements without creating excessive backpressure. Size matters too—undersized cans fill quickly and reduce effectiveness, while oversized units waste space without improving performance.
Consider aluminum versus plastic construction based on your engine bay temperature and durability needs. Quality catch can maintenance and cleaning begins with selecting materials that resist corrosion and withstand thermal stress. Review product specifications carefully to ensure the chosen system matches your engine's displacement and PCV flow rates.
Step-by-Step Installation Process
Preparation and Safety Measures
Before beginning PCV catch can installation, gather all necessary tools and materials. You will need wrenches, hose clamps, appropriate hoses, and mounting brackets specific to your vehicle. Disconnect your negative battery terminal to prevent accidental electrical discharge. Allow your engine to cool completely to avoid burns from hot components. Clear your work area and organize components logically to streamline the installation process.
Review your catch can's installation instructions thoroughly before making any connections. Some systems require specific hose routing to optimize vapor separation. Check that all fittings match your existing PCV lines to prevent air leaks. Inspect your engine bay layout to identify the optimal mounting location that allows gravity-assisted drainage while keeping the unit away from excessive heat sources.
Locating and Disconnecting PCV Lines
The PCV catch can installation begins by identifying your vehicle's existing PCV line routing. Locate where the line connects from your PCV valve to the intake manifold. You will typically find this line on top of or alongside your valve cover. Carefully disconnect this line by loosening hose clamps and gently twisting the connection free. Some older vehicles have multiple PCV lines requiring individual attention.
Before disconnecting anything, take photographs of the original configuration for reference. This prevents confusion during reassembly if complications arise. Note the routing path to ensure your new engine catch can system follows a similar trajectory without creating sharp bends that restrict flow. Some installations require rerouting lines away from moving engine components.
Mounting the Catch Can Unit
Select a mounting location that provides easy access for future catch can maintenance and cleaning. The unit should sit below the PCV source to allow gravity-assisted drainage back to the engine. Many installations mount the catch can near the frame rails or behind the bumper where temperatures remain moderate. Ensure the mounting location keeps hoses away from rotating engine parts, exhaust manifolds, and moving suspension components.
Use appropriate mounting brackets and fasteners designed for your specific catch can model. Secure the unit firmly to prevent vibration-induced loosening over time. The engine catch can system must remain stationary during acceleration and cornering to maintain reliable operation. Leave adequate space around the unit for accessing drain valves and future maintenance procedures.
Connecting Hoses and Fittings
Attach hoses from your PCV source to the inlet port of your catch can using proper connectors. Cut hoses to appropriate lengths to avoid slack that could trap liquids or create kinks. Secure all connections with stainless steel hose clamps tightened firmly but not excessively. Route the return hose from the catch can outlet back to your engine's intake manifold or PCV valve, following the original line path as closely as possible.
Verify that all connections are tight by gently attempting to move the hoses at connection points. Loose fittings cause vacuum leaks that compromise engine performance and defeat the purpose of the PCV catch can installation. Check for any hoses rubbing against sharp edges or hot surfaces that could cause premature wear. After connections are complete, double-check the configuration against your installation diagram.
Testing, Maintenance, and Optimization
Initial Testing and System Verification
Once your engine catch can system installation is complete, reconnect your negative battery terminal and start the engine. Listen for unusual hissing or whistling sounds that indicate vacuum leaks. Allow the engine to idle for several minutes while observing the catch can for any oil misting or leaks at connection points. Check that the engine runs smoothly without hesitation or stumbling.
Perform a visual inspection of all hose connections and fittings for leakage. Wipe the exterior of your catch can with a clean cloth to identify any subtle seeps. Some oil residue around drain valves is normal, but active dripping requires immediate tightening. Drive the vehicle cautiously at low speeds to verify the system operates correctly under light operating conditions.
Catch Can Maintenance and Cleaning Schedule
Regular catch can maintenance and cleaning ensures long-term system effectiveness and engine protection. Drain accumulated oil and coolant every 500 to 1000 miles depending on driving conditions and engine blow-by volume. High-performance or turbocharged engines produce more blow-by and require more frequent draining. Open the drain valve and allow liquids to flow into a suitable container for proper disposal.
Inspect the internal baffle and separator elements during draining for excessive sludge accumulation. If blockages develop, rinse the catch can with appropriate solvents and flush thoroughly before reinstalling. Every 5000 to 10000 miles, remove and inspect hose connections for deterioration or displacement. Replace any cracked, hardened, or damaged hoses immediately. Clean the breather element according to manufacturer recommendations to maintain proper vapor flow throughout your engine catch can system.
Keep detailed maintenance logs documenting each draining event and any observations about oil volume or condition. Increasingly frequent draining may indicate ring wear or other internal engine problems requiring professional inspection. Color changes in accumulated oil can signal coolant entry, requiring investigation of potential PCV system leaks.
FAQ
How often should I drain my catch can?
Most drivers should drain their catch can every 500 to 1000 miles, though this varies based on engine condition and driving style. High-performance engines and turbocharged applications produce more blow-by gas, requiring more frequent maintenance. Check your catch can monthly to assess accumulation rates and adjust your catch can maintenance and cleaning schedule accordingly. Extreme ambient temperatures and excessive idling also increase drainage frequency requirements.
Can I install a catch can on any engine?
Most gasoline engines with PCV systems can accommodate a catch can, but compatibility varies by vehicle model and engine displacement. Some modern engines with complex emission control systems require specific catch can models designed for that platform. Always verify that your chosen engine catch can system matches your vehicle's specifications before purchasing. Diesel engines and hybrid powertrains may require different approaches, so research your specific application carefully.
What happens if I don't maintain my catch can properly?
Neglecting catch can maintenance and cleaning allows oil and contaminants to accumulate excessively, eventually blocking internal components. Clogged catch can systems create backpressure that forces blow-by gases back into the engine, negating the system's protective benefits. Over time, this reduces engine performance and increases fuel consumption. Regular draining and inspection ensure your PCV catch can installation continues protecting your engine investment for years to come.
 EN