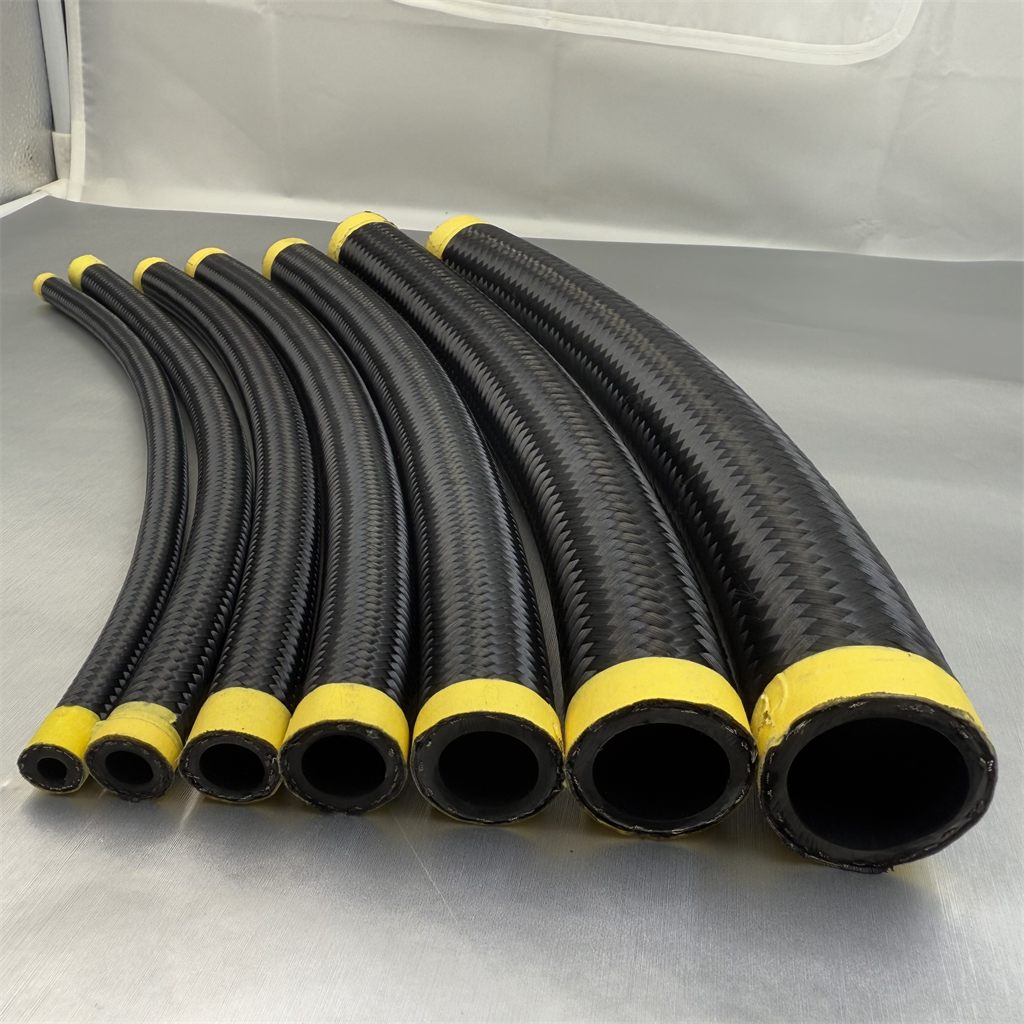
Installing a fuel hose correctly is one of the most critical tasks in automotive and industrial maintenance. A properly installed fuel hose ensures safe fuel delivery, prevents leaks, and maintains system integrity. Whether you're working with gasoline engines, diesel fuel hose systems, or specialty fuel applications, understanding the proper installation process protects both equipment and personnel. Many maintenance professionals and equipment operators overlook installation fundamentals, leading to costly failures and safety risks that could have been prevented with proper technique.
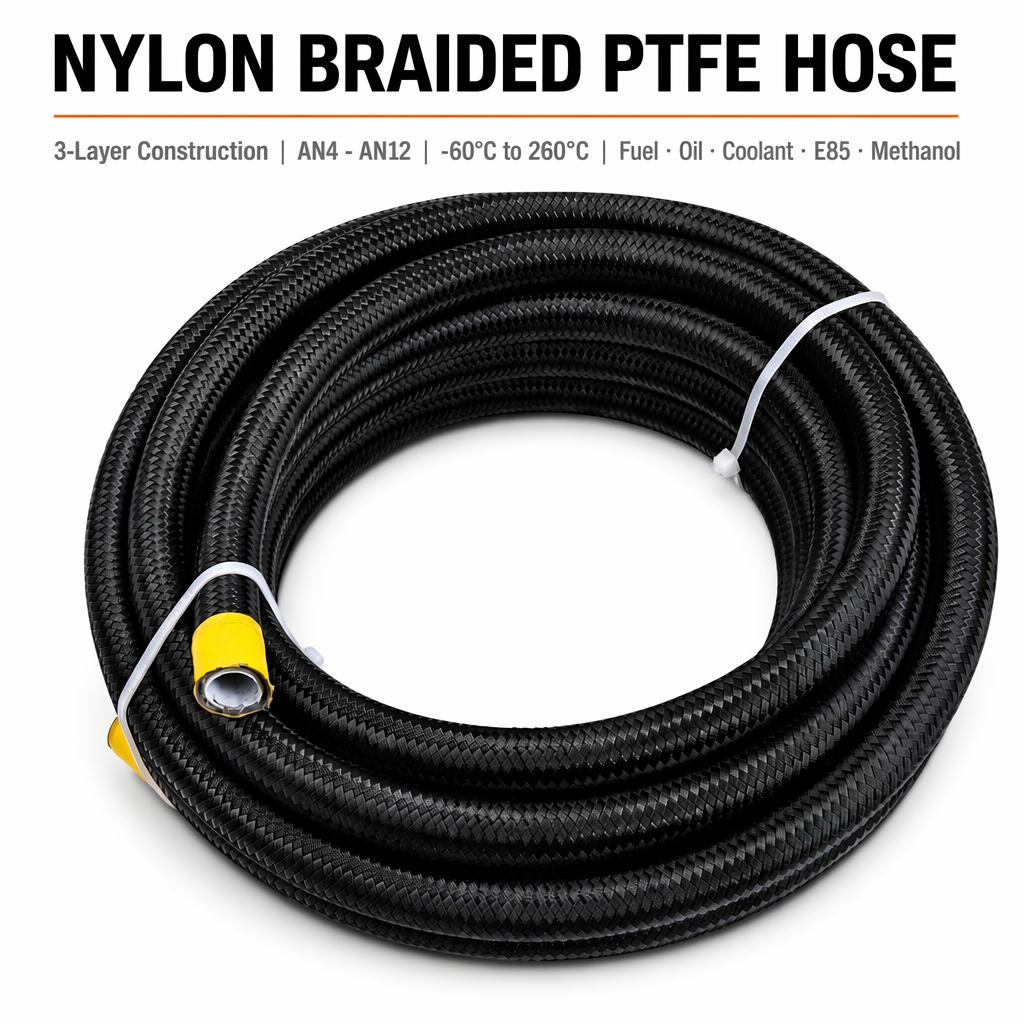
The installation process for a fuel hose involves more than simply connecting two points. A fuel line assembly requires attention to pressure ratings, material compatibility, connection methods, and routing considerations. This guide walks through the essential steps to ensure your fuel hose installation meets industry standards and performs reliably. Understanding these principles applies whether you're installing a diesel fuel hose in heavy equipment or maintaining a standard automotive fuel system.
Preparing for Fuel Hose Installation
Gathering Tools and Materials
Before beginning any fuel hose installation, assemble all necessary tools and components. You'll need appropriate hose clamps, a fuel hose that matches your system's pressure and temperature specifications, connection fittings, and a hose inspection tool. Quality fuel hose materials, particularly those designed for diesel fuel hose applications, ensure durability and safety. Verify that your fuel line assembly kit includes all components specified by the equipment manufacturer.
Inspect every component for damage before installation begins. Check the fuel hose for cracks, brittleness, or degradation that could indicate age-related deterioration. Examine fittings for corrosion or deformation. If you're performing fuel hose replacement on older equipment, compare your new fuel hose specifications against the original system requirements to ensure compatibility.
Safety Preparation and System Isolation
Safety takes absolute priority when working with fuel systems. Disconnect the battery on automotive applications to prevent electrical ignition hazards. Relieve fuel system pressure by loosening the fuel cap and allowing residual pressure to escape safely. For diesel fuel hose systems and large industrial applications, consult equipment documentation for proper depressurization procedures. Ensure your work area is well-ventilated and free from ignition sources.
Place absorbent material under work areas to capture any fuel spillage during fuel hose replacement or installation. Keep fire suppression equipment accessible nearby. Never install a fuel hose while the engine is running or when ignition switches are activated. These precautions apply equally to small automotive fuel line assembly work and large industrial diesel fuel hose installations.
Proper Fuel Hose Connection Technique
Fitting Orientation and Alignment
The fuel hose must connect to fittings with proper alignment and orientation. Slide the appropriate hose clamp onto the fuel hose before inserting the hose onto the fitting. Push the hose firmly onto the fitting until it seats completely, with no exposed fitting threads visible. The connection should feel secure and require deliberate force to disconnect. Most standard fuel line assembly installations use a push-fit or barbed fitting design that relies on hose tightness around the fitting.
For diesel fuel hose systems and high-pressure applications, verify fitting thread patterns and connection types. Some fuel hose connections use JIC flare fittings or metric connectors that require different installation approaches than push-fit designs. Position the fuel hose straight onto the fitting without excessive twisting or lateral forces that could damage internal hose layers. Allow the hose material itself to conform to the fitting shape naturally.
Clamp Installation and Tightening
After fully seating the hose on the fitting, slide the hose clamp over the connection point. The clamp should position just beyond the fitting barb or connection edge, holding the hose firmly in place while leaving adequate hose material for proper sealing. Tighten the clamp gradually using a screwdriver or clamp tool, applying even pressure rather than over-tightening. A properly tightened hose clamp prevents fuel leakage while avoiding material damage that occurs with excessive force.
Different clamp types serve specific purposes in fuel line assembly work. Worm-drive clamps offer adjustability and work well for fuel hose replacement on varied fitting sizes. Spring clamps provide consistent pressure and suit diesel fuel hose applications. For critical fuel hose connections, consider using two clamps stacked at the connection point to provide redundant security. Check clamp tightness after the first few minutes of system operation, as initial settlement may require adjustment.
Routing and System Integration
Positioning the Fuel Hose Along Its Path
Proper routing of the fuel hose prevents damage and ensures system reliability. The fuel hose should follow the shortest practical path between fuel source and engine or application point, avoiding unnecessary loops or coils. Secure the hose using appropriate brackets or tie-downs every 12 to 18 inches along its length, preventing vibration-induced wear and fatigue. Keep the fuel line assembly away from engine heat sources, sharp edges, and moving components that could puncture or abrade the hose material.
When installing a diesel fuel hose system, maintain separation from electrical wiring and avoid contact with catalytic converters or exhaust components. Route hose runs below the frame level when possible to protect from road debris and impacts. Support the hose along its entire length rather than relying on connection points alone. Proper fuel hose routing prevents premature failure and reduces fuel hose replacement frequency throughout the system's operational life.
Final System Check and Pressure Testing
After completing fuel hose installation and fuel line assembly connections, perform a thorough inspection before operating the system. Look for any visible gaps, loose clamps, or misaligned connections. Run your hand along the entire fuel hose length feeling for leaks or dampness. Enable the fuel pump or pressurize the system according to equipment specifications while monitoring for drips or seeping at connection points.
Leave the system pressurized for several minutes, observing connections for delayed leakage that indicates inadequate clamp pressure or improper seating. For diesel fuel hose systems, pressure testing should match the system's maximum operating pressure rating. Any fuel hose replacement or new fuel line assembly installation must pass this pressure verification before normal operation resumes. Document completion of pressure testing and inspection in maintenance records.
FAQ
What size hose clamp should I use for fuel hose installation?
Select hose clamps sized to fit the outer diameter of your fuel hose with the clamp band width matching the hose fitting area. Standard clamp sizes range from 5/16 inch to 1 inch diameter capacity. Consult your equipment manual or original fuel line assembly specifications for exact clamp dimensions. Using undersized clamps risks inadequate pressure and leakage, while oversized clamps may damage the hose material during tightening.
Can I reuse a fuel hose after disconnecting it during fuel hose replacement?
Reusing fuel hose material from a previous fuel line assembly depends on its condition and application. Inspect the hose interior for contamination, cracks, or hardening that indicates age-related degradation. If the fuel hose shows any damage, cracks, or internal deterioration, replace it completely. For critical diesel fuel hose systems or high-pressure applications, new hose is recommended to ensure reliability. Most manufacturers recommend fuel hose replacement after extended storage or uncertain service history.
How often should I inspect my fuel hose connections?
Inspect fuel hose connections every 6 to 12 months during routine equipment maintenance. Look for visible leaks, hose degradation, or loose clamps that require tightening. For diesel fuel hose systems operating in demanding conditions, more frequent inspection intervals may be necessary. Replace any fuel hose showing cracks, brittleness, or permanent deformation. Regular fuel line assembly inspection prevents fuel hose replacement emergencies and maintains system safety throughout the equipment's operational life.
 EN