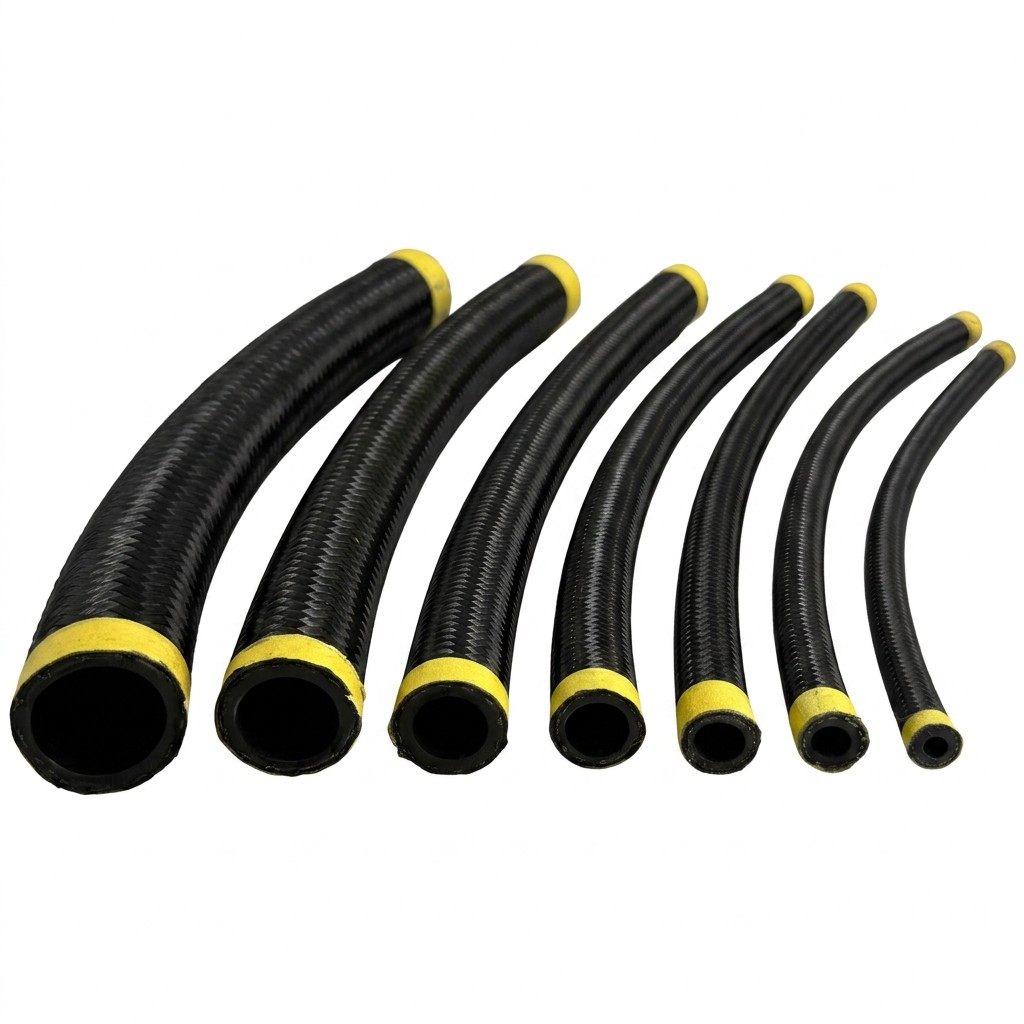
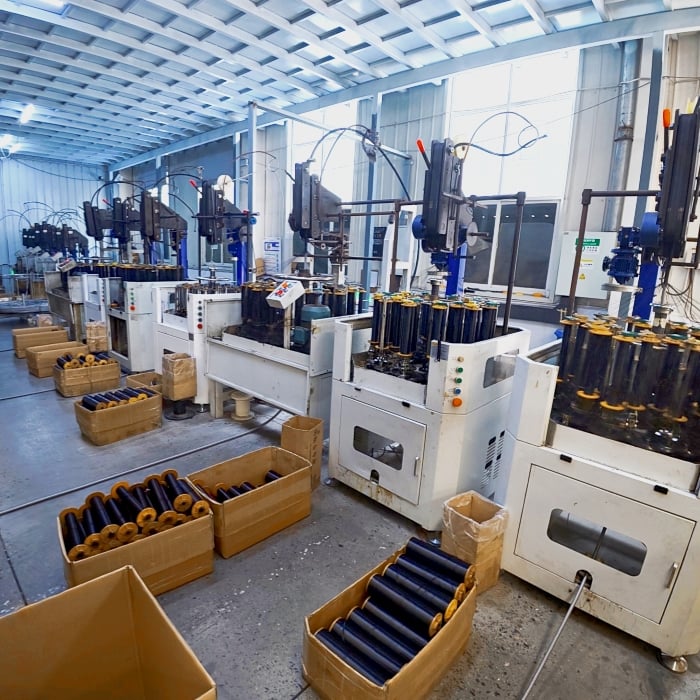
Proper installation and security of a fuel hose is critical to ensuring safe, efficient operation of any vehicle or industrial equipment. A poorly installed fuel hose can lead to leaks, fuel contamination, engine performance issues, and in severe cases, safety hazards. Whether you are performing routine maintenance or replacing a damaged fuel hose, understanding the correct installation methodology is essential. This guide walks you through the complete process of installing and securing a fuel hose to meet industry standards and manufacturer specifications.
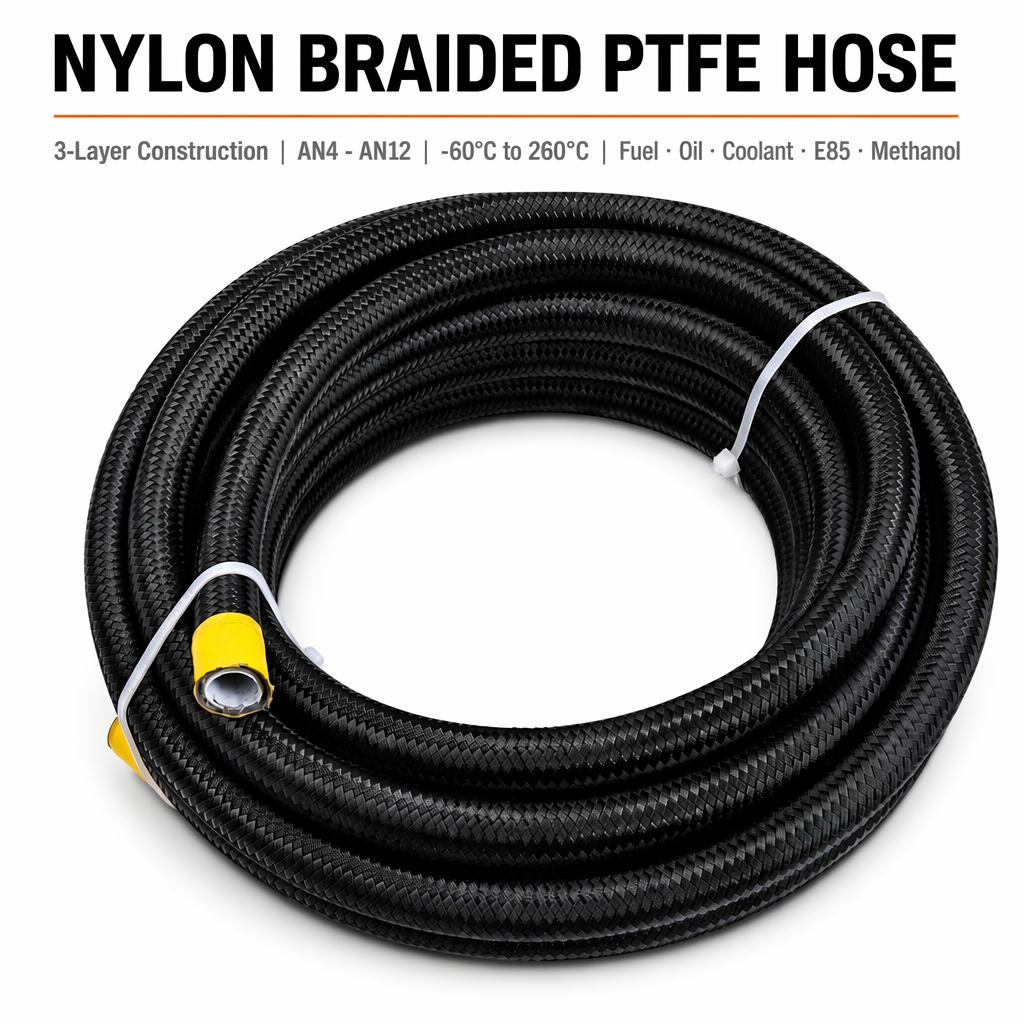
Before beginning any fuel hose installation, gather all necessary tools, replacement components, and safety equipment. Ensure the fuel system is depressurized and the engine has cooled completely. Inspect the new fuel hose and all connection points for defects, cracks, or contamination. Understanding the specific requirements for your fuel line assembly will prevent costly errors and ensure long-term reliability of your fuel system.
Selecting the Right Fuel Hose Type
Understanding Fuel Hose Specifications
Not all fuel hoses are created equal. Diesel fuel hose must meet different standards than gasoline fuel hoses due to the higher pressures and chemical composition of diesel fuel. When selecting a replacement fuel hose, verify that it meets the appropriate SAE (Society of Automotive Engineers) standards for your specific application. The hose diameter, pressure rating, and material composition directly impact performance and safety. A fuel hose rated for your vehicle's fuel type and pressure requirements will provide reliable service for years.
Material and Compatibility Considerations
Fuel hose materials vary widely, with synthetic rubber compounds offering superior resistance to fuel degradation and temperature extremes. A diesel fuel hose typically requires reinforced construction to handle the higher injection pressures common in diesel engines. Verify compatibility between the fuel hose, fuel line assembly components, and the fuel itself. Some synthetic materials may degrade when exposed to certain fuel additives or ethanol blends. Always consult the manufacturer's specifications to ensure your fuel hose replacement components are chemically compatible with your fuel system.
Step-by-Step Fuel Hose Installation Process
Preparation and System Depressurization
Begin by disconnecting the negative battery terminal to eliminate electrical hazards. Locate the fuel system pressure relief valve and follow the vehicle manufacturer's procedure to depressurize the fuel system. Allow the engine to cool for at least thirty minutes before working with fuel system components. Place absorbent materials beneath work areas to catch any residual fuel. These preparatory steps are non-negotiable for safe fuel hose replacement work. Improper depressurization can result in dangerous fuel sprays or leaks during disconnection.
Removing the Old Fuel Hose
Once the system is depressurized and cool, locate and carefully disconnect the fuel line assembly components at both ends of the hose. Some fuel hose connections use spring clamps, while others use screw clamps or push-fit connectors. Loosen clamps gradually to release pressure gently, then disconnect hoses from their fittings. Inspect the connection ports for debris, corrosion, or damage. Clean these areas with a lint-free cloth before installing the new fuel hose. If the old fuel hose has been in service for many years, the connection points may be brittle or corroded, requiring careful removal to avoid damaging the ports.
Installing the New Fuel Hose
Before installation, ensure the new fuel hose has adequate clearance from hot engine components, sharp edges, and moving parts. Insert the fuel hose firmly onto each fitting until you feel or hear a click, indicating full seating. For clamp-style connections, position the clamp approximately one-quarter inch from the end of the hose to allow proper seal formation. Tighten clamps in a cross pattern if multiple clamps are present, and verify they are snug but not overtightened, which could damage the hose. Check that the fuel line assembly routing does not create stress points or kinks in the hose. Proper routing prevents premature wear and maintains consistent fuel delivery pressure.
Securing and Testing Your Fuel Hose Installation
Proper Securing Techniques
After connecting the fuel hose, secure it to the vehicle frame or engine block using appropriate mounting brackets or clips. These securing devices should hold the hose firmly without pinching or crushing it. Leave approximately one-half inch of hose movement to accommodate engine vibration and thermal expansion. A diesel fuel hose carrying high-pressure fuel requires particularly robust securing to prevent chafing or vibration-induced cracks. Inspect all securing points periodically as part of routine maintenance. Loose or corroded mounting hardware can allow fuel hose movement that leads to premature failure or dangerous leaks.
Pressure Testing and Leak Detection
Reconnect the battery and prime the fuel system by turning the ignition on without starting the engine for five seconds. Repeat this cycle three times, then inspect the entire fuel hose replacement area for leaks. Look for fuel seeping from connection points, clamps, or along the hose length. Start the engine and allow it to idle for two minutes while continuing to monitor for leaks. If any fuel leaks are visible, immediately shut down the engine and investigate the source. Common leak sources include loose clamps, poorly seated hose ends, or damaged fuel line assembly components. Tighten clamps incrementally and retest. If leaking persists, disconnect and reseat the hose firmly, ensuring full engagement at the fitting.
Final Verification and Documentation
After confirming no leaks and proper operation, drive the vehicle for a test period to ensure the fuel system performs as expected. Monitor fuel pressure readings using a fuel pressure gauge if available, ensuring values match manufacturer specifications. Document the fuel hose replacement date, mileage, and any observations for future reference. This record helps track maintenance intervals and supports future diagnostics. Proper installation of a fuel hose is only the beginning; regular inspection during routine maintenance ensures continued safe operation and fuel system reliability.
FAQ
How often should a fuel hose be replaced?
Most manufacturer recommendations suggest replacing a fuel hose every five to seven years or when visible signs of degradation appear, such as cracks, brittleness, or swelling. A diesel fuel hose may require more frequent inspection due to higher operating pressures. Environmental factors like extreme temperature fluctuations, exposure to sunlight, and fuel quality can accelerate aging. Regular visual inspections during maintenance intervals help identify deterioration early, preventing unexpected fuel leaks or system failures.
What causes fuel hose failures?
Fuel hose failures typically result from material degradation caused by fuel exposure, thermal cycling, and oxidation. Excessive vibration, improper mounting, or contact with hot engine components accelerates damage. A fuel line assembly subjected to pressure spikes beyond its rated capacity may fail prematurely. Chemical contamination in fuel, such as water or rust particles, can degrade the hose interior. Poor initial installation or loose securing brackets that allow hose movement contribute significantly to premature failure. Understanding these factors helps prevent expensive downtime and safety hazards.
Can a fuel hose replacement be performed without professional tools?
Basic fuel hose replacement can be performed with standard hand tools like wrenches, clamps, and pliers, though access may be limited in some vehicles. A fuel pressure gauge is highly recommended to verify proper system function after installation. Professional fuel system diagnostic equipment ensures connections are secure and pressures are correct. If you lack experience with fuel system work, consulting a certified technician is advisable, particularly for diesel fuel hose installations that involve higher pressures and more complex fuel line assembly configurations.
 EN